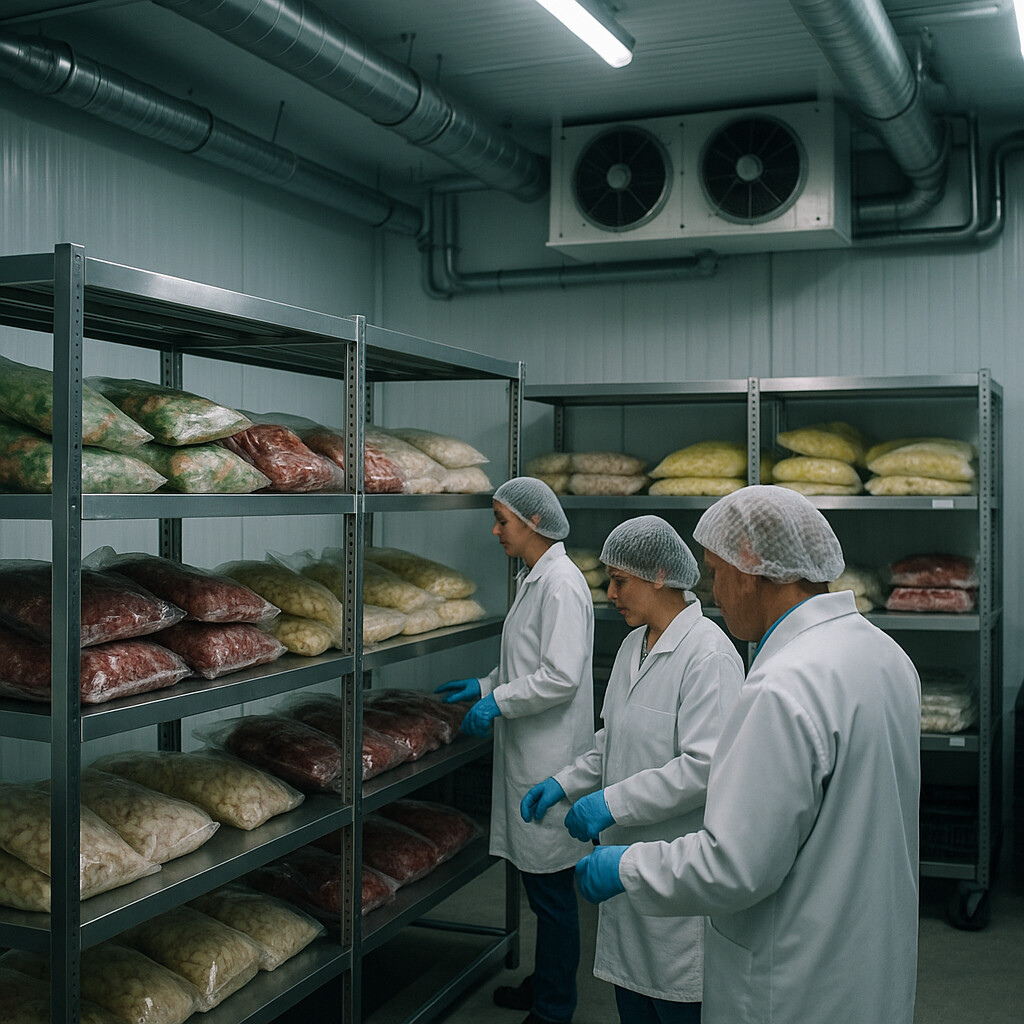
Commercial kitchens face health inspections that monitor contamination and sanitizer levels, often measured in parts per million. A single contaminated surface can trigger a facility closure, making wall material selection a compliance necessity rather than a preference.
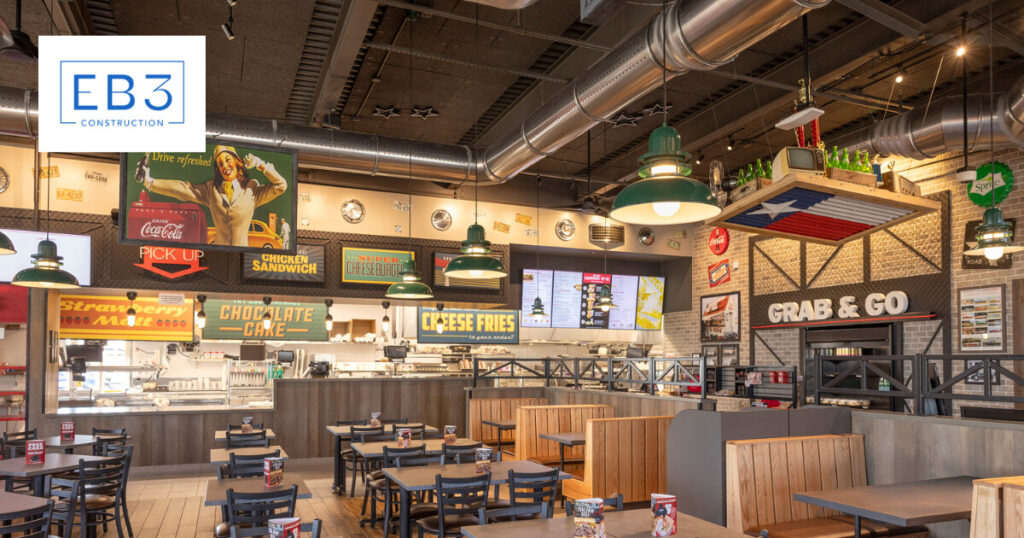
Commercial kitchen FRP wall installation involves mounting fiberglass-reinforced plastic (FRP) panels in food preparation environments where hygiene, durability, and regulatory compliance are essential. These composite sheets combine polymer resins with fiberglass reinforcement to create nonporous surfaces that resist mold, moisture, and repeated chemical washdowns. In facilities processing thousands of meals daily, FRP panels help maintain sanitary conditions while supporting compliance with USDA, FSIS, CFIA, FDA, and similar health codes.
Available in multiple thicknesses and fire ratings from Class C to Class A, these engineered products deliver long-term performance under the constant impacts, steam exposure, and intensive cleaning typical of commercial kitchen operations.
What Performance And Code Factors Matter Before Installing FRP?

We evaluate hygienic wall systems starting with non-porous surface requirements. FRP panels prevent mold, mildew, and bacterial growth through their seamless polymer resin construction. This characteristic is critical in commercial kitchens where food-safe environments demand surfaces that resist contamination and support washdown cleaning protocols.
Chemical and moisture resistance testing validates performance under daily commercial kitchen conditions. We confirm that panels withstand repeated exposure to cleaning agents, steam, and humidity levels that often exceed 65%. The substrate preparation phase requires verifying that underlying drywall or plywood can handle moisture infiltration and thermal cycling without compromising overall wall system integrity.
Fire performance classifications determine code compliance across multiple jurisdictions. FRP panels are manufactured in various fire ratings, with Class A options meeting the most stringent International Building Code requirements for commercial food service facilities. We coordinate with local authorities to confirm the required fire rating for specific kitchen areas, particularly around heat-generating equipment and near egress paths.
Regulatory compliance encompasses USDA, FSIS, CFIA, FDA, and local health department standards. Each agency maintains specific requirements for food contact surfaces, washdown areas, and cleanability standards. We document compliance pathways early in the planning phase to avoid costly modifications during or after installation.
Impact resistance and durability planning address the physical demands of commercial kitchen operations. Carts, equipment movement, and daily impacts require panels that maintain structural integrity without cracking or delamination. We assess traffic patterns and equipment placement to specify appropriate panel thicknesses and reinforcement strategies around high-impact zones.
Environmental conditions near dish and cook lines present unique challenges. High humidity and heat exposure require specialized attention to expansion allowances and joint sealing. We account for temperature differentials that can reach 40°F between cooler storage areas and active cooking zones, ensuring panels accommodate thermal movement without buckling or separation.
Watertight installation design prevents moisture infiltration behind panel systems. We specify continuous silicone sealant application at all trims, corners, and joints, creating an unbroken barrier against water penetration. This sealing strategy is essential for preventing substrate damage and maintaining long-term system performance in washdown areas.
Expansion gap planning prevents panel buckling during thermal cycling. We establish a minimum 1/8-inch spacing at panel edges and oversize penetrations to accommodate movement. This expansion allowance is particularly important in kitchens where temperature fluctuations occur daily and seasonal HVAC adjustments affect ambient conditions.
Joint alignment strategy avoids structural weak points. We never place FRP panel joints directly over drywall or plywood seams; instead, we stagger these connections to distribute loads and prevent crack propagation. This approach maintains system integrity and reduces the risk of moisture infiltration at vulnerable connection points.
Establishing layout lines ensures professional results. We set level and plumb reference lines before beginning panel installation, using these guides to maintain consistent alignment throughout the project. Proper layout prevents cumulative errors that can compromise both appearance and performance in large kitchen installations.
How Do You Install FRP Wall Panels In A Commercial Kitchen?
We treat FRP installation as a sequence of coordinated steps built on proper preparation. Each phase demands attention to timing, materials, and dimensional accuracy to deliver the watertight system commercial kitchens require.
Panel Conditioning and Substrate Preparation
We acclimate FRP panels in the installation space for at least 48 hours at approximately 70°F before starting work. This conditioning helps prevent dimensional changes during installation that could compromise sealing.
Substrate preparation demands thorough inspection and cleaning. We verify that drywall or plywood surfaces are clean, dry, solid, and straight. Any unsealed joint compound wider than 3 inches is sealed with a 50/50 mixture of latex paint and water, applied lightly over the compound area only. We establish plumb lines and avoid positioning FRP joints directly over substrate joints, which can telegraph through and create weak points.
Cutting and Trimming Panels
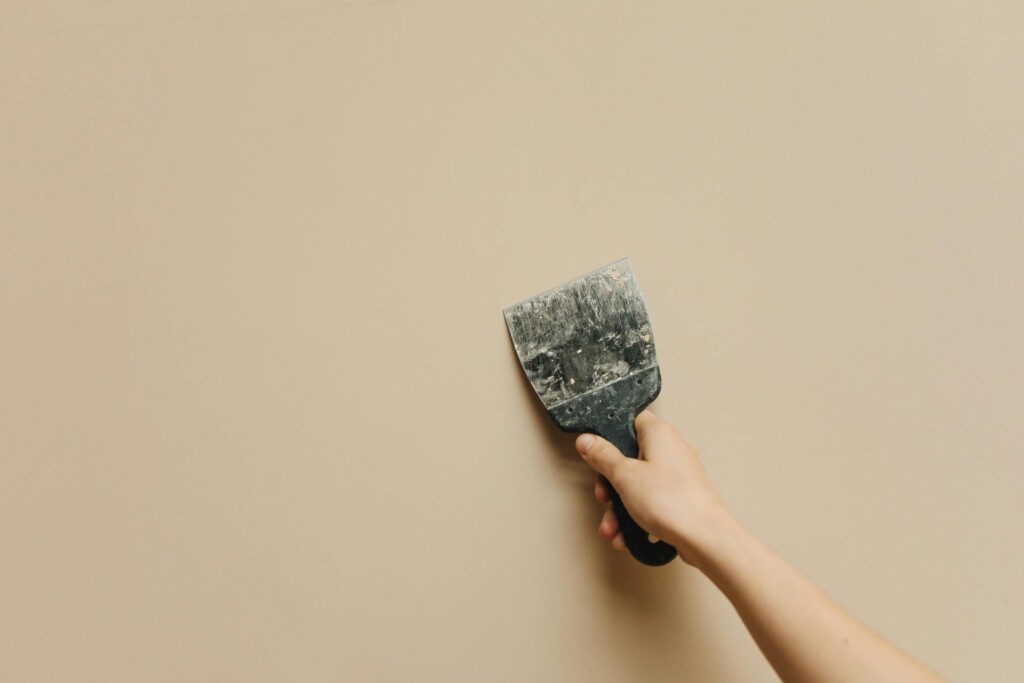
We cut panels face up using a table saw or face down with a circular saw equipped with a fine-tooth blade. For corner cuts, we radius the cuts to prevent chipping. Small cutouts require drilling four corner holes before making the cut to reduce stress and prevent cracking.
All panel edges receive trim molding as part of our sealing strategy. We apply a continuous bead of silicone sealant in trim channels and at corners, maintaining at least a 1/8-inch expansion space in all channels. In high-moisture or spray-wash areas, we seal all trim channels with silicone as standard practice.
Base Molding Installation
Base molding installation begins by locating the highest point of the floor and marking a level reference line around the installation area. We apply a 1/4-inch bead of silicone sealant to the bottom of the base molding to allow controlled squeeze-out when set in place. Fasten through the back flange every 24 inches using 1-3/8-inch drywall nails, and apply silicone sealant to all connectors.
Adhesive Application Method
We apply FRP adhesive to the entire panel back using a notched trowel approximately 3/16-inch wide × 1/4-inch deep with 1/2-inch center-to-center notches. This provides full coverage except for about 1 inch at panel edges. Spread adhesive at roughly 70°F for optimal workability.
Install panels while the adhesive remains fresh, within 5 minutes of application. We roll each panel immediately after positioning to ensure full adhesive transfer and eliminate air pockets. On non-porous substrates, use a compatible construction or advanced polymer adhesive rather than standard FRP adhesive. Avoid cartridge adhesives; they cannot keep panels flat and tight to the wall.
Mechanical Fastener Installation
When mechanical fasteners are required, drill holes 1/8-inch oversize to allow panel movement. Space fasteners on 16-inch centers, with outer fasteners positioned about 1 inch from panel edges. At seams where panels meet, stagger fasteners to maintain flat joints.
Concealed Clip System Installation
Concealed clip systems provide an alternative that allows panel removal and precise alignment. We lay out and install female clips on the substrate, then use center points to mark corresponding locations on panel backs. After drilling and setting male clips on panels, press panels until clips fully engage.
This system accommodates panel movement due to thermal expansion while maintaining removability for future access to utilities or cleaning behind panels.
Seam Finishing for Grooved Systems
Grooved panel systems require specific finishing techniques. We use spacers during adhesive curing to maintain proper alignment, then apply 2-inch or wider masking tape before trimming out the groove with a sharp utility knife. After applying harmonizing silicone sealant, we tool the joint and remove the tape after one hour of curing.
What Are Common FRP Installation Pitfalls And How Do You Avoid Them?
Understanding where FRP installations typically fail helps us prevent costly callbacks and maintain our reputation for quality work. These pitfalls show up across projects, but each has straightforward solutions when we apply the right techniques. We’ve identified six critical areas where installations commonly go wrong and the specific methods to address each issue.
Moisture infiltration at seams and joints leads to delamination and hidden mold. This failure mode undermines the hygiene benefits that make FRP valuable in commercial kitchens. Water penetrates gaps between panels and trim, creating conditions for bacterial growth behind the surface where inspectors cannot see it.
We seal all trim channels and joints with a continuous silicone bead that leaves no gaps. We run the sealant gun in one unbroken motion along each connection point. Any break in the continuous bead creates an entry point for moisture in washdown areas.
Poor adhesion from dirty, damp, or non-porous substrates causes panels to separate from walls. Substrate contamination remains the leading cause of adhesive failures. Dust, grease, or moisture can prevent the chemical bond between adhesive and substrate, leading to bubbling and panel detachment.
We clean and dry all surfaces before adhesive application. This includes removing loose joint compound, degreasing with appropriate solvents, and allowing adequate drying time. We match adhesive chemistry to the substrate, using advanced polymer formulations on non-porous surfaces such as ceramic tile or stainless steel. Installing panels while the adhesive remains fresh prevents skin formation that blocks proper bonding. We roll all panels immediately after placement to achieve 100% adhesive transfer.
Thermal expansion causes buckling when panels lack adequate movement space. FRP expands and contracts with temperature changes, especially near heat sources like dish machines and cook lines. Panels installed without expansion allowance develop stress concentrations that show up as visible buckling or cracking.
We leave 1/8-inch expansion space in all trim channels and drill oversized fastener holes where mechanical fasteners are required. Fastener holes receive an additional 1/8-inch clearance beyond the fastener diameter. We avoid over-tightening mechanical fasteners, which restricts natural panel movement and creates stress points.
Misaligned joints and uneven panels create visible installation defects. Poor alignment makes even high-quality panels look unprofessional and can compromise sealing effectiveness. Placing substrate joints directly under FRP joints weakens the overall system.
We establish level and plumb reference lines before starting panel installation. These lines guide placement and ensure consistent alignment across the wall surface. We never place FRP joints directly over substrate joints such as drywall seams, which create weak points. For grooved panels, we pre-fit pieces to verify proper alignment before applying adhesive.
Improper adhesive application reduces bond strength. Cartridge adhesives don’t provide the coverage area needed for reliable FRP installation. Spot application leaves unsupported panel areas that can flex and separate over time.
We apply adhesive as a full spread using a properly sized notched trowel. The recommended 3/16-inch-wide by 1/4-inch-deep notch creates consistent adhesive thickness and ensures complete panel support. This method provides the mechanical key needed for long-term adhesion in demanding environments.
Limited service access creates maintenance challenges after installation. Traditional adhesive mounting makes panel removal nearly impossible without damage. This creates problems when we need to access utilities, perform maintenance, or replace damaged sections.
When future access is likely, we recommend concealed clip systems that allow panel removal and reinstallation. These systems provide the same alignment precision as adhesive methods while maintaining removability for maintenance access. The clips accommodate thermal movement while providing secure attachment to the substrate.
How Does FRP Compare With Other Commercial Kitchen Wall Materials?
Commercial kitchen wall materials each bring distinct advantages and limitations to food service environments. This section compares three primary options based on performance, installation demands, and long-term maintenance.
FRP Panel Performance and Installation
FRP panels offer strong impact resistance and non-porous surfaces that perform well in high-moisture environments. Their composite construction resists damage from kitchen carts and equipment while maintaining hygiene standards through repeated chemical washdowns.
However, FRP installation requires careful attention to seams and adhesive joints. Installers must seal every connection point with a continuous silicone bead to prevent moisture infiltration and bacterial growth. The multi-step process involves substrate preparation, applying adhesive with a notched trowel, and precise panel alignment to avoid future delamination issues.
Stainless Steel Durability and Considerations
Stainless steel panels offer exceptional durability and heat resistance, making them ideal for placement near cook lines and high-temperature areas. The material withstands direct contact with hot surfaces and resists chemical damage from aggressive cleaning agents.
The primary drawbacks center on cost and installation complexity. Stainless steel requires skilled installation with specialized mounting hardware and precise cutting techniques. Additionally, fingerprints and water spots are highly visible on the surface, requiring frequent cleaning to maintain a professional appearance in customer-facing areas.
PVC Interlocking Panel Advantages
PVC interlocking panels feature smooth, non-porous surfaces with tongue-and-groove joints that create watertight connections. This design eliminates the sealing challenges associated with traditional panel systems while providing complete moisture protection.
Installation speed represents a significant advantage. The lightweight panels install quickly over existing walls using their interlocking system, often reducing labor costs by up to 33% compared to FRP installations. Many PVC systems achieve Class A fire ratings while maintaining simple cleaning requirements with basic soap-and-water solutions.
Long-Term Performance Considerations
FRP panels require ongoing maintenance of seam sealants and may experience delamination in high-moisture areas over time. Stainless steel provides the longest lifespan but demands higher upfront investment and specialized cleaning products to maintain appearance.
PVC systems offer balanced performance with minimal maintenance requirements. The watertight surface design prevents moisture penetration that can compromise other materials, while the smooth finish resists staining and bacterial growth without complex cleaning protocols.
Conclusion And Next Steps
Commercial kitchen FRP wall installation provides the foundation for durable, food-safe surfaces when executed with precision. Success depends on defining performance targets early, confirming substrate conditions, and selecting the right installation approach for your space. Whether using full-spread adhesive for seamless surfaces, mechanical fastening for removability, or concealed clips for precise alignment, each method requires attention to watertight joints and thermal movement.
We focus on the details that ensure long-term performance: continuous sealing at every connection point, proper expansion allowance to prevent buckling, and careful panel alignment that maintains both function and appearance. Establishing documented cleaning protocols and regular inspection schedules for washdown areas protects your investment and supports ongoing food-safe compliance. These practices are especially critical in high-traffic prep areas where daily chemical cleaning and equipment impacts test the wall system’s durability.
For guidance on adapting these installation practices to your specific kitchen layout, substrate conditions, and operational requirements, contact EB3 Construction to discuss your commercial kitchen wall system needs.