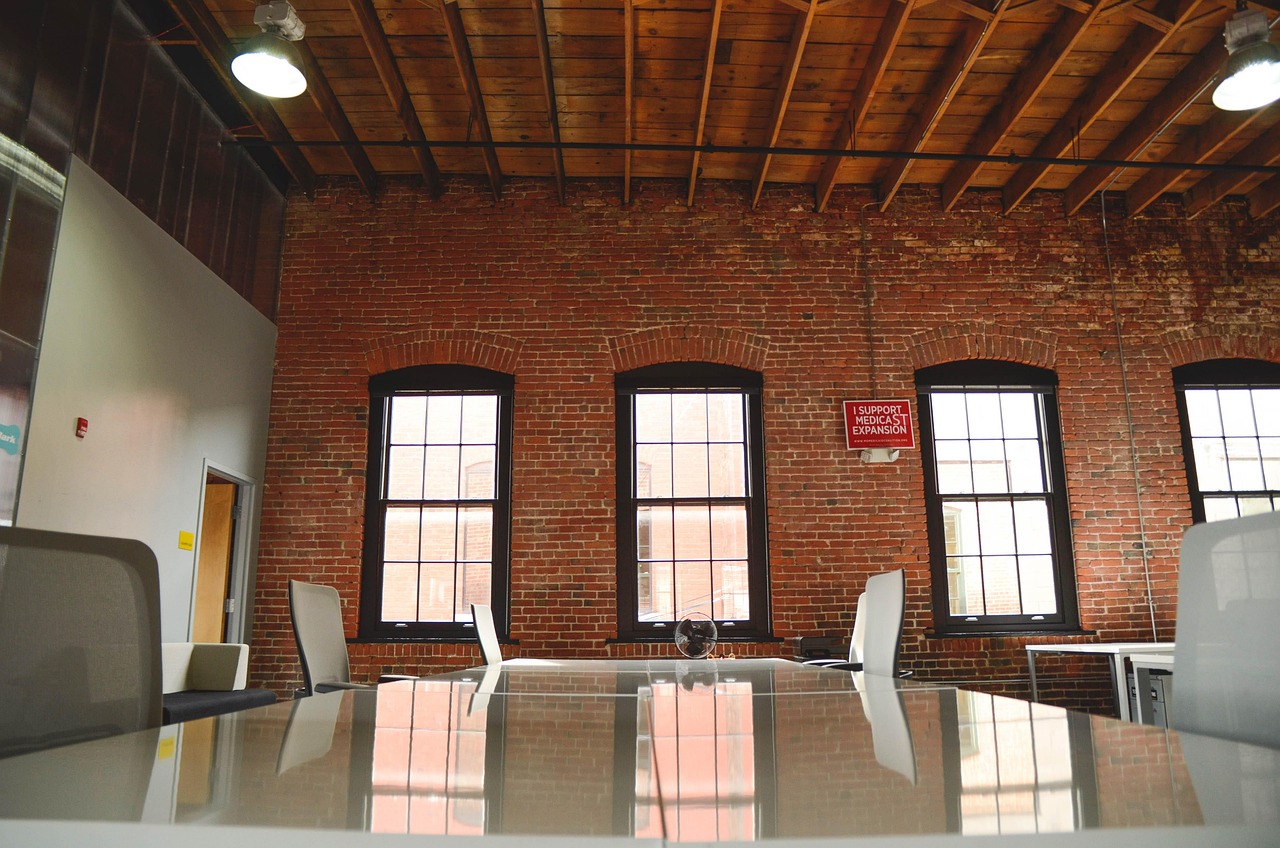
Roof framing forms the critical backbone of any building project—the skeleton upon which the entire protective shield of your structure depends. This essential network of rafters, ridge beams, collar ties, and trusses does more than simply hold up shingles; it is the architectural crown that determines a building’s structural integrity and longevity.
At EB3 Construction, we approach roof framing with the precision it demands. The framework we install creates the necessary load path that transfers the weight of the roof covering, plus environmental forces like snow loads and wind pressure, safely down through the exterior walls to the foundation. This careful distribution prevents structural failures that could compromise the entire building envelope.
Beyond mere support, properly executed roof framing delivers multiple critical benefits. We design systems that create effective watershed paths to channel rainwater away from the structure, preventing moisture intrusion and potential water damage. Perhaps most importantly, the roof structure we build serves as the primary defense against the elements—from punishing summer heat to winter snow accumulation that can add thousands of pounds of pressure overnight.
What Are the Key Components of Roof Framing?
At EB3 Construction, we approach roof framing with precision, knowing that each component plays a critical role in the structural performance and longevity of the building. A properly framed roof distributes loads efficiently while protecting against environmental forces. Let’s examine the core elements that make up a robust roof framing system.
Ridge Board: The Backbone of Your Roof
The ridge board serves as the horizontal member at the peak of the roof where opposing rafters meet. Unlike a structural ridge beam, a standard ridge board isn’t designed to bear substantial loads—it primarily provides a secure connection point for rafters. When we install ridge boards, we typically use 2x lumber with a depth at least equal to the cut end of the rafters.
During installation, we ensure the ridge board remains perfectly straight and level, as any deviation can compromise the roof’s geometry and strength. For spans exceeding typical structural limits, we may recommend upgrading to a structural ridge beam supported by posts that transfer loads directly to the foundation.
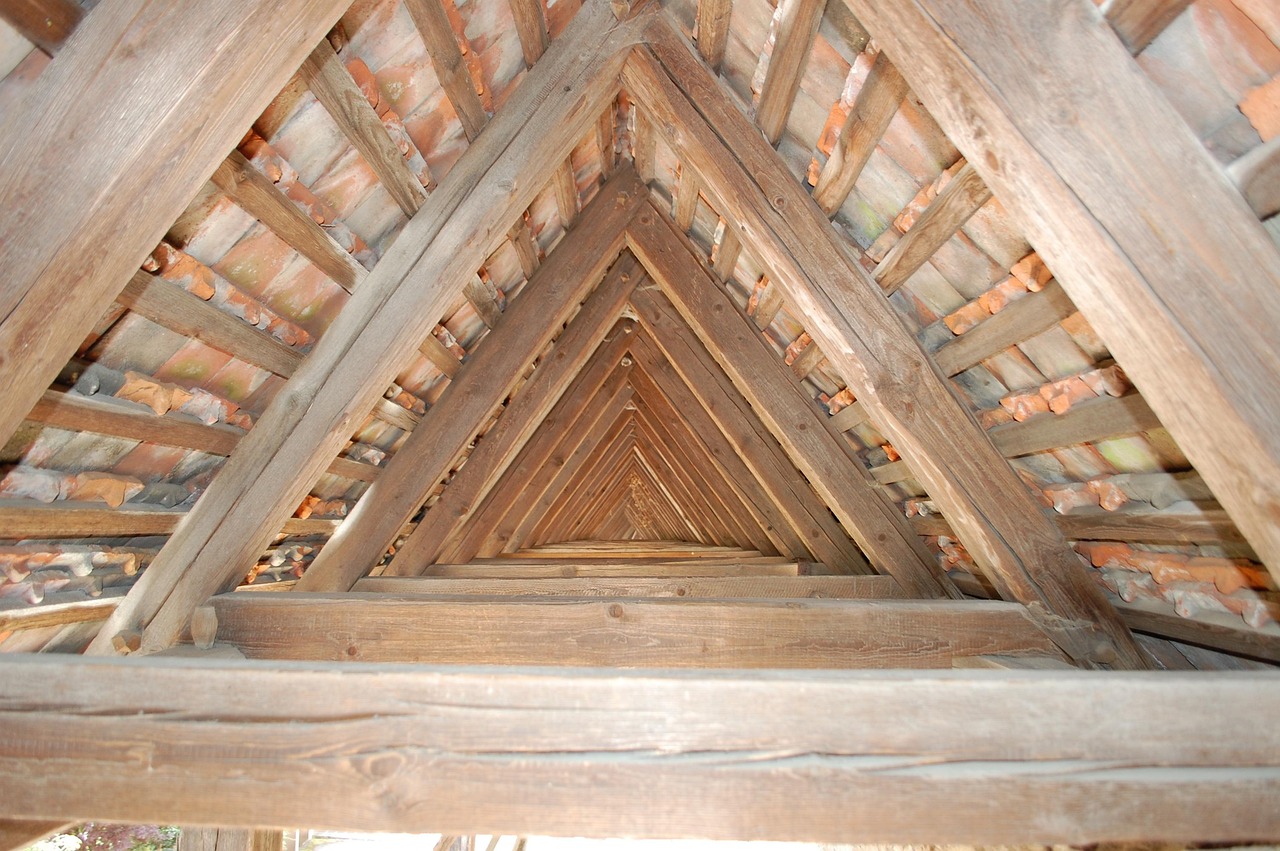
Rafters: The Primary Support Structure
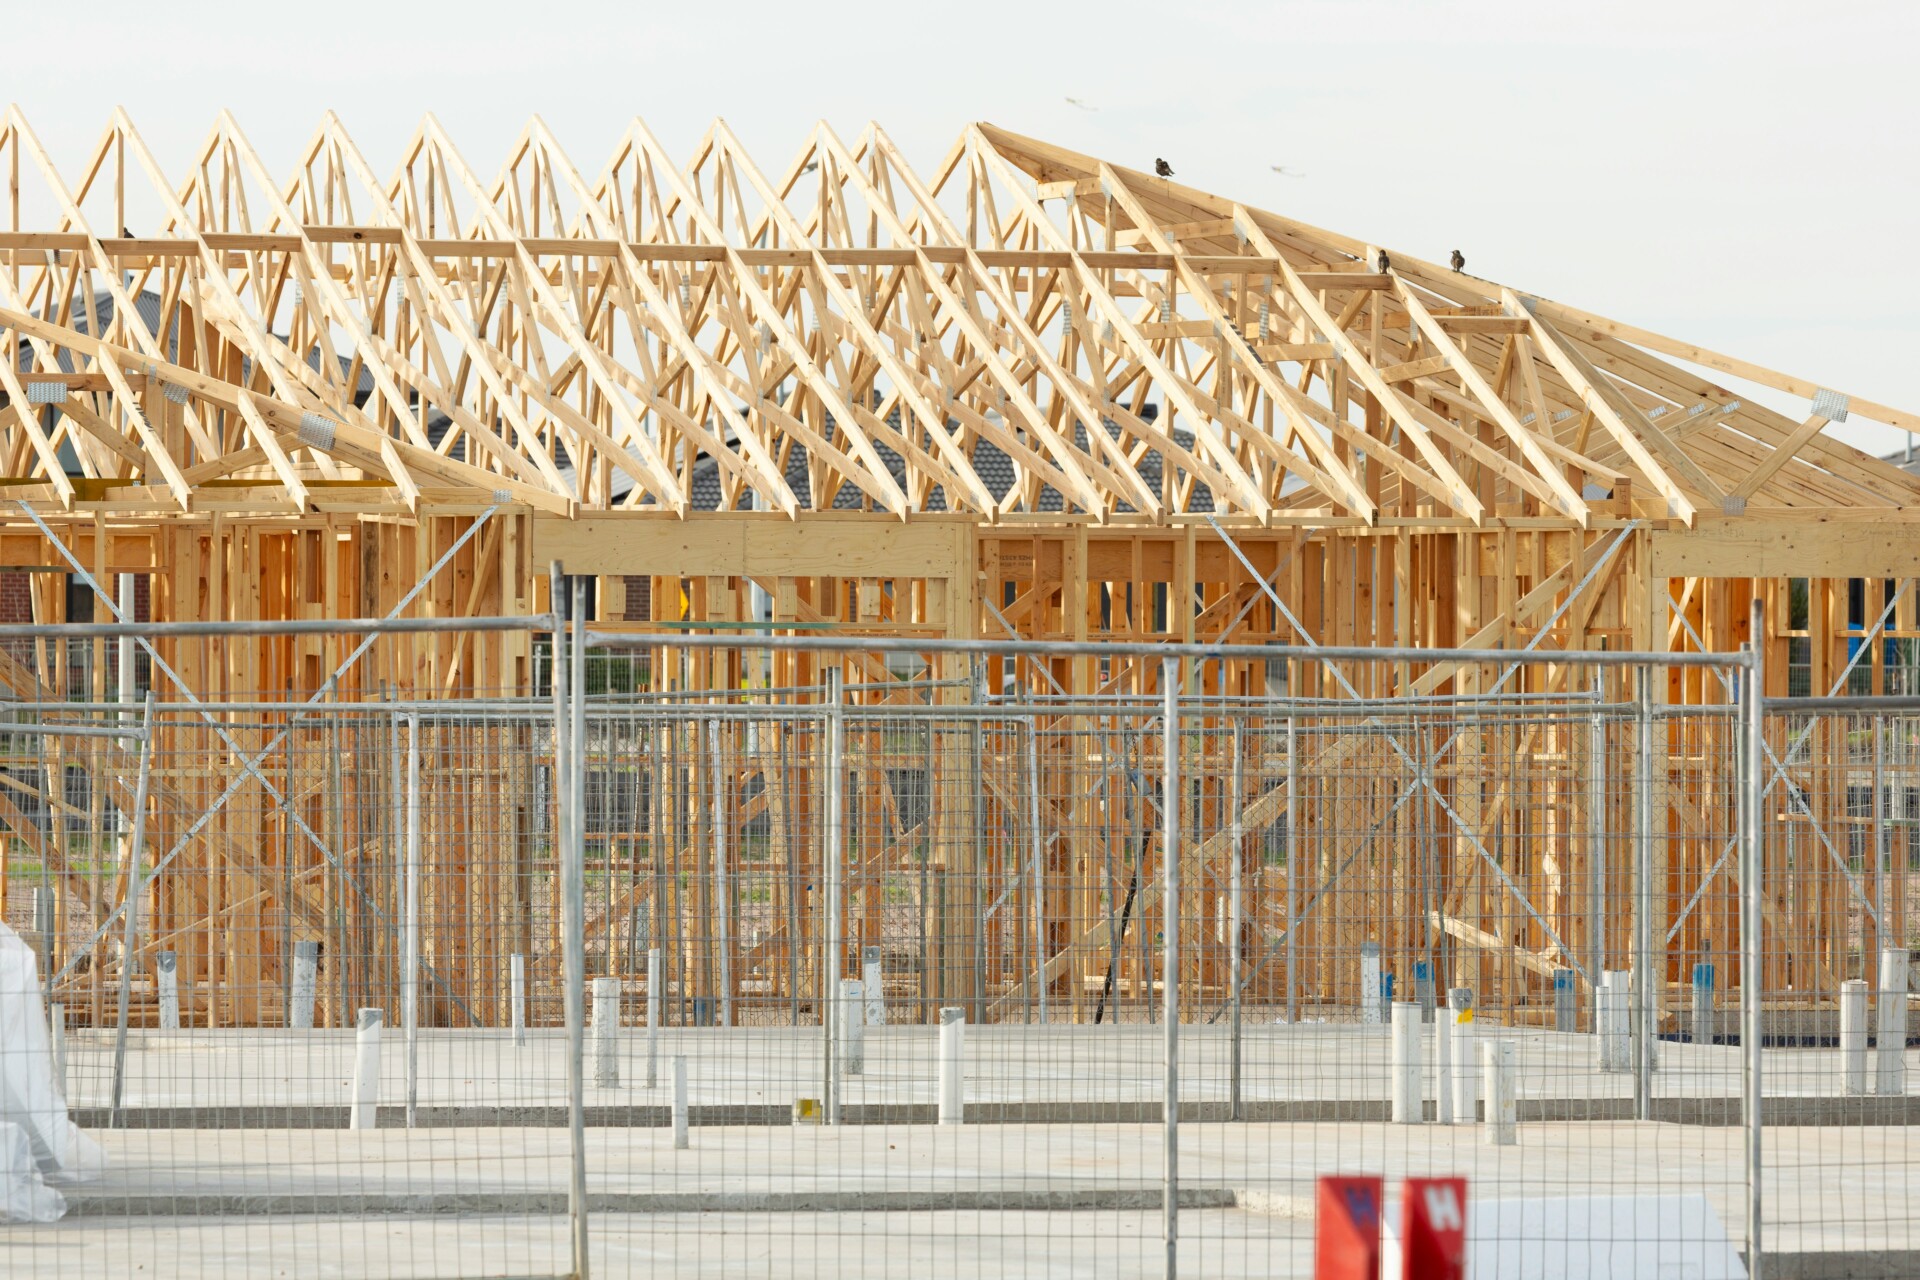
Rafters form the main skeleton of the roof, extending diagonally from the ridge board down to the wall plates. These sloping beams bear the weight of roof sheathing, roofing materials, and environmental loads like snow or wind. We dimension rafters according to span, spacing, pitch, and anticipated loads.
Common rafters run perpendicular to the ridge and walls, while hip rafters extend diagonally from the ridge to corners of the building. Valley rafters form the internal angles where roof planes intersect. Each rafter type requires specific cutting techniques, particularly at connection points like the bird’s mouth cut where the rafter meets the wall plate.
Collar Ties and Rafter Ties: Critical Connectors
Collar ties are horizontal members connecting opposing rafters in the upper third of the roof. These components prevent rafters from separating from the ridge during uneven loading scenarios such as high winds. While some view them simply as compression members, they actually switch to tension members during certain stress events, highlighting their complex structural role.
Rafter ties, positioned in the lower third of the roof, serve a different but equally important function. These horizontal connectors resist the outward thrust that roof loads place on exterior walls. In many residential structures, ceiling joists double as rafter ties when properly secured to both the rafters and wall plates.
Ceiling Joists: Dual-Purpose Framing
Ceiling joists run horizontally at the base of the roof structure, often serving dual purposes. Structurally, they function as tension members that prevent the rafters from pushing walls outward. From a finishing perspective, they provide a framework to which ceiling materials can be attached.
When framing for open or cathedral ceilings, we often need to implement alternative structural solutions since traditional ceiling joists would interrupt the open space. This might include structural ridge beams or strategically placed collar ties designed to handle the specific loading conditions.
| Component | Function |
|---|---|
| Rafters | Provide the primary support for the roof |
| Ridge Board | Non-structural piece that provides a point for rafters to attach |
| Trusses | Pre-fabricated triangular structures that efficiently distribute weight |
| Beams | Heavy-duty supports that carry weight across long spans |
| Purlins | Horizontal boards supporting rafters, used for longer spans or heavier materials |
| Collar Ties | Connect opposing rafters to prevent spreading during wind or snow |
| Ceiling Joists | Support ceilings and prevent walls from spreading |
Specialized Rafters for Complex Designs
Jack rafters are shorter rafters that don’t extend the full distance from ridge to wall plate. Hip jack rafters run from the wall plate to a hip rafter, while valley jacks extend from a valley rafter to the ridge. Cripple jack rafters, among the most specialized, connect between hip and valley rafters without reaching either the ridge or the wall.
These specialized members allow us to create more complex roof designs with multiple planes and angles. The proper cutting and secure fastening of these components require considerable precision to ensure structural integrity and proper load distribution throughout the entire roof system.
The current International Building Code specifies minimum fastening requirements for these connections, with variations based on snow loads and building dimensions. In regions with extreme weather conditions, we often exceed these minimums to provide an additional margin of safety.
The Structural Symphony
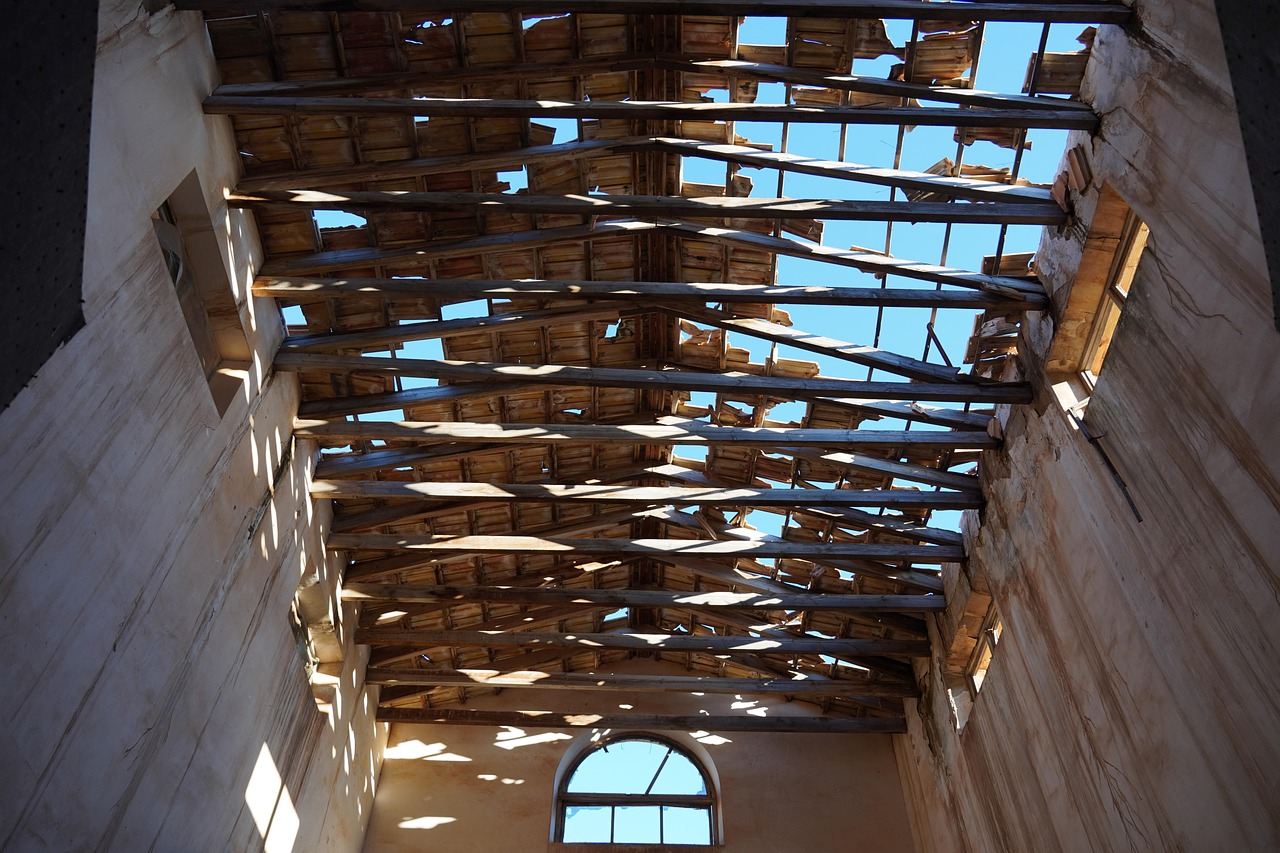
The true strength of roof framing comes not from individual components but from how they work together as a system. When properly designed and assembled, these elements create triangulated structures that efficiently transfer loads through compression and tension. This fundamental principle hasn’t changed since traditional timber framing, though materials and connection methods continue to evolve.
During renovation projects, we frequently encounter historic structures with compromised framing components. Understanding the original design intent allows us to develop restoration strategies that preserve architectural integrity while meeting contemporary safety standards. This might involve sister rafters alongside damaged members or strategic reinforcement at critical connection points.
What Are the Main Types of Roof Designs?
When planning a construction project, the roof design is more than just an aesthetic choice. At EB3 Construction, we select roofs with both form and function in mind—considering regional climate patterns, structural requirements, and the long-term performance of each design option. Let’s explore the most common roof structures we implement and their practical implications for developers and property owners.
Gable Roofs: The Classic Triangle
Gable roofs are the most commonly constructed roof type across American developments. Their simple triangular structure—two sloping sides meeting at a ridge—makes them economical to frame and finish. These roofs are particularly effective in areas with moderate rainfall and snowfall, as their pitch allows for excellent water drainage.
Gable roofs offer practical advantages beyond cost efficiency. Their design creates substantial attic space that can be used for storage, HVAC equipment placement, or converted into additional living areas. This flexibility is valuable for property developers looking to maximize marketable square footage. The construction process is also streamlined, with straightforward framing techniques that reduce labor hours.
Despite these benefits, we carefully assess wind exposure before recommending gable roofs. In regions prone to hurricanes or high winds, the perpendicular surfaces can catch wind like a sail without proper reinforcement. When suitable for the region, however, gable roofs offer an excellent balance of cost-effectiveness and functionality.
Hip Roofs: Superior Stability
Hip roofs feature four sloping sides that converge toward the center, creating a more compact and stable structure. We often recommend hip roofs for developments in coastal areas and regions prone to high winds. The inward slope on all sides significantly reduces wind resistance compared to gable designs—a critical consideration when building in hurricane-prone zones along the Gulf or Eastern Seaboard.
The self-bracing nature of hip roofs adds structural integrity to the building envelope, though this comes with increased construction complexity. The framing requires more materials and skilled labor to properly construct the additional hips and valleys. While this increases upfront costs, the enhanced durability and reduced maintenance over time often justify the investment for long-term property owners.
Hip roofs also excel at shedding precipitation, with their four-way slope efficiently directing water and snow off the structure. This feature is especially valuable in northern regions with heavy snowfall, preventing dangerous accumulations that could otherwise stress the structure.
Gambrel Roofs: Maximizing Interior Volume
Gambrel roofs, distinctive for their barn-like appearance, feature two slopes on each side—a steep lower slope paired with a gentler upper slope. We implement this design when developers need to maximize usable volume within a building’s footprint. The steep lower slope creates nearly vertical walls that effectively expand interior space compared to traditional roof designs.
This efficient use of space makes gambrel roofs particularly valuable in dense urban developments where property lines restrict horizontal expansion. The expanded attic area often allows for additional living space or mechanical systems without increasing the building’s footprint. However, we consider wind exposure carefully, as the vertical lower sections can be susceptible to uplift during severe weather events.
Though slightly more complex to frame than simple gable roofs, gambrel designs strike a balance between construction efficiency and space maximization. Their distinctive profile also adds architectural character that can enhance property marketability in appropriate settings.
Mansard Roofs: Architectural Distinction
Mansard roofs bring a touch of French architectural heritage to modern construction. Their distinctive four-sided design features two slopes per side—a steeper lower slope and a gentler upper slope—creating substantial interior volume while maintaining an elegant exterior profile. We find mansard designs particularly valuable when developers want to incorporate livable attic space with nearly vertical walls.
From a construction standpoint, mansard roofs represent one of the more complex framing challenges, requiring precision in both layout and execution. The additional labor and materials increase initial costs, though the expanded usable space and distinctive appearance often command premium pricing that offsets this investment for developers targeting upscale markets.
The versatility of mansard designs allows for creative window integration through dormers, bringing natural light into attic spaces that would otherwise remain dark. This architectural flexibility makes mansard roofs well-suited for mixed-use developments where distinctive character enhances marketability.
Flat Roofs: Modern Functionality
Despite their name, flat roofs incorporate a slight pitch—typically 1/4 inch per foot—to facilitate proper drainage. We implement flat roof designs primarily in commercial construction and contemporary residential projects where roof space serves additional functions. The horizontality creates opportunities for rooftop gardens, mechanical equipment placement, or outdoor living areas that wouldn’t be possible with pitched designs.
The simplified geometry of flat roofs streamlines the framing process, though their success depends entirely on proper waterproofing systems. We pay particular attention to membrane selection and drainage design, as these factors directly impact long-term performance. In regions with heavy precipitation, we incorporate robust drainage solutions with redundant pathways to prevent pooling and potential leaks.
Flat roofs perform best in drier climates where precipitation loads remain manageable. Their efficiency in urban settings—particularly for mid-rise and commercial developments—makes them a practical choice despite the additional waterproofing considerations.
What is the Process of Building a Roof Frame?

Successful roof framing is a key achievement in structural construction. As general contractors, we approach this process with precision, knowing that a properly executed roof frame not only protects the building envelope but also establishes the foundation for proper drainage, insulation, and overall structural integrity.
Choosing Between Rafters and Trusses
Our first decision involves selecting the appropriate structural system. Rafters offer on-site flexibility and create more usable attic space, while trusses provide cost efficiency and faster installation times for larger projects. Current lumber costs and labor availability often influence this critical decision.
When we opt for rafters, we select dimension lumber typically in 2×10 configurations, planning for spans that exceed minimum code requirements. For trusses, we either order prefabricated units from trusted suppliers or build custom designs for specialty applications when unique load distributions require it.
The choice ultimately depends on several factors: building design complexity, budget constraints, timeline requirements, and whether the space above needs to remain open for future development. We consider all these elements before proceeding to the measurement phase.
Critical Measurements and Calculations
Precision at this stage prevents costly errors later. We begin by calculating the roof span—measuring from exterior wall to exterior wall including sheathing. The rise (height from ceiling to peak) divided by the run (half the span) determines the crucial roof pitch, typically expressed as X:12 (such as 4:12 or 6:12).
These measurements allow us to determine rafter length and precise cut angles. We use rafter tables and digital calculators to verify manual calculations, ensuring that every component fits perfectly when assembled. For complex designs, we create scaled mockups to test fit and function before cutting expensive materials.
Working with local building officials, we verify that our planned roof structure meets or exceeds minimum code requirements for snow loads, wind resistance, and structural integrity. These early consultations prevent approval delays that could impact project timelines.
| Feature | Rafters | Trusses |
|---|---|---|
| Construction Method | Built on-site | Prefabricated |
| Material Used | 2x8s, 2x10s, 2x12s | 2x4s |
| Cost | Higher | 30-50% less than rafters |
| Installation Time | Longer | Typically one day |
| Design Flexibility | Higher | Limited |
| Usage in New Construction | Less common | 80% of new residential projects |
Cutting and Preparing Framing Components
For rafter systems, we begin by cutting a pattern rafter that serves as our template. Each rafter requires three critical cuts: the plumb cut (where it meets the ridge), the bird’s mouth cut (where it sits on the wall plate), and the tail cut (forming the eave). We use framing squares with stair gauges to maintain consistent angles throughout the cutting process.
When working with trusses, we inspect each unit upon delivery for structural integrity and proper dimensions. Damaged trusses are never used, as even minor defects can compromise the entire roof system. We stage trusses in sequence to match the installation plan, minimizing handling and potential damage.
For both systems, we preassemble hardware and connectors, ensuring that hurricane ties, joist hangers, and other structural fasteners are readily available during the installation phase. This preparation streamlines the construction process and maintains momentum during the critical weather-dependent roof installation.
Installation Sequence
We begin installation by establishing a solid foundation for the roof structure. For rafter systems, we secure the ridge board at the precise height determined by our calculations, supporting it with temporary bracing. The first opposing pair of rafters establishes the profile, which we verify for square and level before proceeding.
For truss systems, we install temporary lateral bracing across the top plates as specified by the truss manufacturer. The end trusses go up first, followed by intermediate trusses typically spaced 24 inches on center. Each truss is braced temporarily until sheathing provides permanent lateral stability.
We secure rafters or trusses using appropriate fastening methods—ring-shank nails or structural screws driven at the correct angles prevent future material separation. Collar ties and rafter ties prevent wall spreading under load, while hurricane ties connect the roof structure to wall framing for wind resistance.
Sheathing and Weatherproofing
Once the structural frame is complete, we immediately install roof sheathing—typically 5/8-inch exterior-grade plywood or OSB panels. We maintain proper spacing between panels (1/8-inch gaps) to allow for expansion and stagger the joints for maximum structural integrity.
The sheathing creates a diaphragm effect, distributing loads across multiple framing members. We secure it with the appropriate fastener pattern based on wind zone requirements, using pneumatic nailers to maintain consistent penetration depths.
Following sheathing installation, we apply waterproofing underlayment, paying particular attention to valleys, eaves, and roof penetrations where leaks commonly develop. This weather barrier provides temporary protection until final roofing materials are installed and creates a secondary defense against water intrusion throughout the structure’s life.
Safety Systems and Considerations
Throughout the roof framing process, we implement comprehensive safety protocols. Fall protection systems—including harnesses, guardrails, and safety nets—are non-negotiable components of our roof construction methodology. We conduct daily safety briefings specific to the day’s tasks and current weather conditions.
Material handling represents another critical safety concern. We use appropriate lifting equipment for truss installation rather than risking injuries through manual handling. For rafter systems, we implement mechanical advantage techniques and team lifting protocols to prevent strains and falls.
We coordinate closely with other trades to minimize overlapping work zones during the vulnerable period when the roof structure is open. This scheduling approach reduces both safety risks and potential weather damage to the building interior.
When properly executed, our roof framing process creates not just a weather barrier but a durable structural system designed to protect the building and its occupants for decades. The investment in proper techniques, quality materials, and safety systems pays dividends through reduced maintenance costs and enhanced building performance.
Conclusion: Ensuring a Strong, Durable Roof Frame
A building’s long-term structural soundness heavily relies on proper roof framing. Our experience in construction shows that carefully engineered roof systems are not just technical requirements—they are critical investments in property longevity and occupant safety. Whether implementing traditional rafter designs or installing prefabricated truss systems, we always balance engineering principles with practical construction knowledge to create frameworks that perform under pressure.
The connection between proper framing and future maintenance requirements is crucial. Well-executed connections between ridge beams, rafters, collar ties, and roof sheathing create a unified system designed to withstand seasonal shifts, environmental forces, and the aging process. Even after California’s 2023 building code updates strengthened requirements for structural connections, meticulous initial construction remains the most effective strategy for creating roofs that maintain their integrity over decades.
Ready to ensure your next construction project features properly engineered roof framing? Contact our team to discuss your structural requirements.