Most bathroom renovations drag on far longer than expected, turning a quick upgrade into months of chaos. The difference between a smooth project and an endless ordeal often comes down to one thing: following the right construction sequence.
To avoid delays, the smartest sequence for a bathroom renovation starts with thorough pre-construction planning, then moves through a carefully orchestrated construction process that accounts for trade dependencies and material logistics.
How Should You Plan Pre-Construction To Prevent Delays?
We treat pre-construction planning as the foundation that determines whether your bathroom renovation stays on schedule or runs into costly delays. The decisions and preparations made before the first tool touches the space directly impact every phase that follows.
Lock in Scope, Goals, and Budget Early
Define your complete project scope before moving forward. Document which fixtures stay in their current locations and which require relocation. Moving plumbing or electrical creates ripple effects that affect permits, inspections, and material coordination.
Establish a realistic timeline that accounts for your specific project requirements. We build in contingency time for unexpected discoveries like outdated wiring, plumbing issues, or structural repairs that surface during demolition to prevent bathroom remodel delays. Adding a 15–20% buffer prevents minor setbacks from derailing your entire schedule.
Finalize your budget with detailed line items for materials, labor, permits, and unexpected costs. Clear financial boundaries help us make quick decisions when alternatives or changes become necessary during construction.
Build the Team and Communication Plan
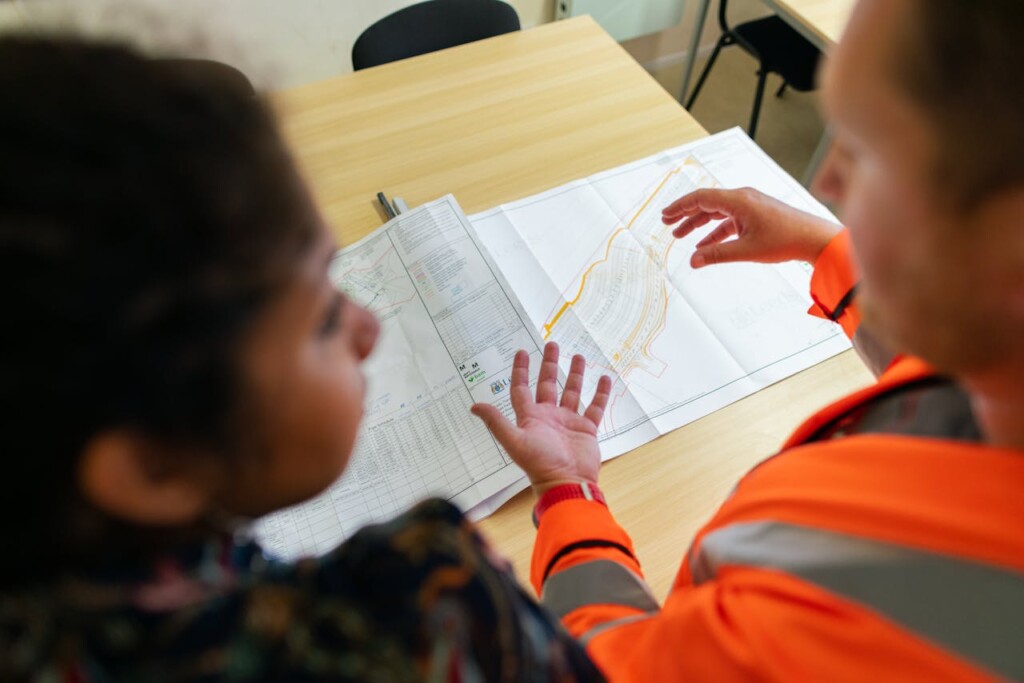
Hire licensed professionals experienced specifically with bathroom renovations. We verify each trade professional holds current licenses, maintains proper insurance coverage, and brings relevant bathroom expertise to your project.
Establish clear communication protocols up front. Schedule regular check-ins, define decision timelines, and create approval processes for changes or modifications. Quick turnarounds on decisions keep the project moving without delays caused by waiting for homeowner responses.
Plan contractor coordination and scheduling between plumbing, electrical, and tile work. We sequence trade schedules to minimize conflicts and ensure each phase completes before the next begins.
Pull Permits and Approvals First
Research permit requirements and local regulations for your specific renovation scope. Most jurisdictions require permits for plumbing modifications, electrical work, structural changes, or significant fixture relocations. Permit approval processes vary widely between municipalities and can take weeks or months.
Submit permit applications immediately after finalizing the design. We handle all paperwork and coordinate with local authorities to expedite approvals. Board approvals for condominiums or planned communities add another layer that requires early attention.
Schedule required inspections in advance. Some jurisdictions allow master plumbers to sign off on water lines, while gas work typically requires city inspector approval. Understanding local inspection requirements prevents scheduling conflicts that halt construction progress.
Order Long-Lead Items Early
Identify materials with extended delivery times early in the planning process. Custom vanities, specialty tile, imported fixtures, and glass enclosures often require 8–12 weeks or more for delivery to your location.
Confirm exact measurements with your contractor before placing orders. Incorrect dimensions result in costly reorders and significant delays. We verify all rough-in locations and fixture specifications before ordering any materials.
Track material lead times and coordinate delivery schedules with construction phases. We arrange delivery timing to coincide with installation dates, preventing materials from sitting on-site too long or arriving after installation crews are scheduled.
Schedule Site Logistics and Preparation
Clear the work area completely before site preparation and construction begin. Remove all personal items, protect surrounding spaces from construction dust, and establish safe access routes for workers and materials.
Plan alternative bathroom access if renovating your only facility. Coordinate with family schedules and consider temporary arrangements that minimize daily disruption during the construction period.
Notify neighbors about upcoming construction activity. Provide project timelines and explain work hours to maintain good relationships during the renovation process. Advance notice helps prevent complaints or conflicts that could impact work schedules.
Coordinate delivery scheduling to match construction phases. Materials arriving too early create storage problems and potential damage. Late deliveries halt work progress and force expensive schedule adjustments.
What Is The Optimal Rough-In And Close-Up Sequence?
Once pre-construction planning wraps up, we move directly into construction, where timing becomes critical. The rough-in and close-up sequence sets the foundation for everything that follows, and getting this order wrong can create expensive delays.
Demolition marks the official start of active construction work. We strip out old fixtures, remove deteriorated tile, and pull up worn flooring to expose the underlying structure. This phase reveals what we’re working with behind the walls.
Protection of adjacent areas prevents damage to finished spaces during the tear-out process. We seal doorways with plastic sheeting and lay protective coverings on nearby floors. Dust containment keeps the disruption manageable while we work.
The rough-in phase establishes all mechanical systems before walls are closed up. We coordinate plumbing rough-ins to set supply lines and drain connections where fixtures will eventually sit. We position water supply valves precisely for sinks, toilets, and shower controls based on the final layout.
Electrical rough-ins follow immediately after plumbing work is complete. We run new circuits for outlets, lighting, and ventilation fans according to current code requirements. We install GFCI protection in all wet areas, and we position switches and outlets for optimal functionality.
Fixture selections must be finalized before rough-in begins. Wall-mounted faucets, for example, require different valve placement than deck-mounted versions. We confirm these details with property owners before setting supply lines to avoid costly repositioning later.
Ventilation systems are installed during the rough-in phase as well. Bathroom fans require proper ducting that routes to the exterior, never terminating in attics where moisture can cause problems. We verify minimum airflow ratings meet local code requirements.
Inspection scheduling becomes crucial at this stage. We coordinate with local building departments to get required sign-offs before closing any walls. Some jurisdictions allow master plumbers to approve water line installations, while gas connections typically require municipal inspection.
The inspection timeline varies by location. Urban areas often experience delays of three to seven days per checkpoint, so we build this buffer into our construction schedules. Failed inspections halt work until corrections are completed and reinspection occurs.
Wall closure follows successful inspection approval. We install moisture-resistant drywall or cement board as the substrate for tile installation. Green board and purple board offer better performance than standard drywall in humid bathroom environments.
Waterproofing membranes are applied after wall installation but before any tile work begins. We create a complete moisture barrier in shower areas and around tubs to prevent water infiltration behind finished surfaces. This waterproof membrane requires 24 to 72 hours to cure before tiling can proceed.
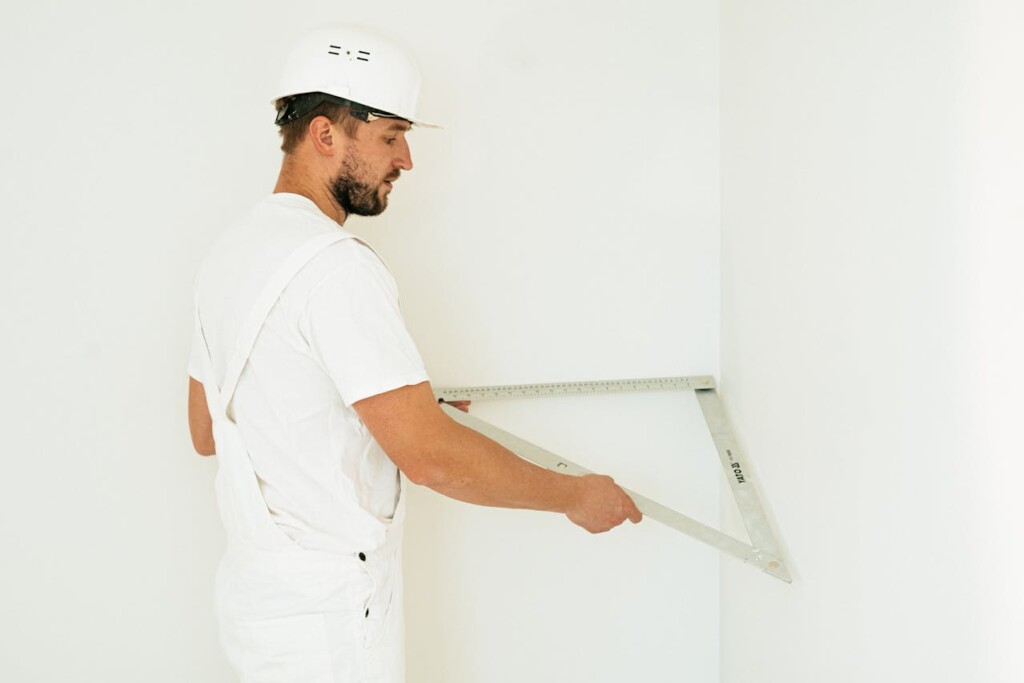
Subfloor preparation completes the close-up sequence. We install appropriate underlayment materials and verify level surfaces for flooring installation. Uneven subfloors require leveling compound to prevent tile lippage and ensure professional results.
When Should Tile, Flooring, Fixtures, And Paint Happen?
The finishing sequence determines how smoothly your bathroom comes together and how well each element functions in the long term. We install floors before fixtures to create a stable foundation, build the shower envelope properly, and add major components before applying final paint and hardware.
Install Floor Tile First
We begin with floor tile installation to establish a consistent surface across the entire space. This approach prevents awkward patches or transitions that occur when flooring is fitted around existing fixtures. The underlayment must be level and properly prepared before any tile is set.
Consistent floor installation also eliminates the risk of having to cut around toilets or vanities later. We ensure the subfloor can handle the tile weight and moisture exposure throughout the space.
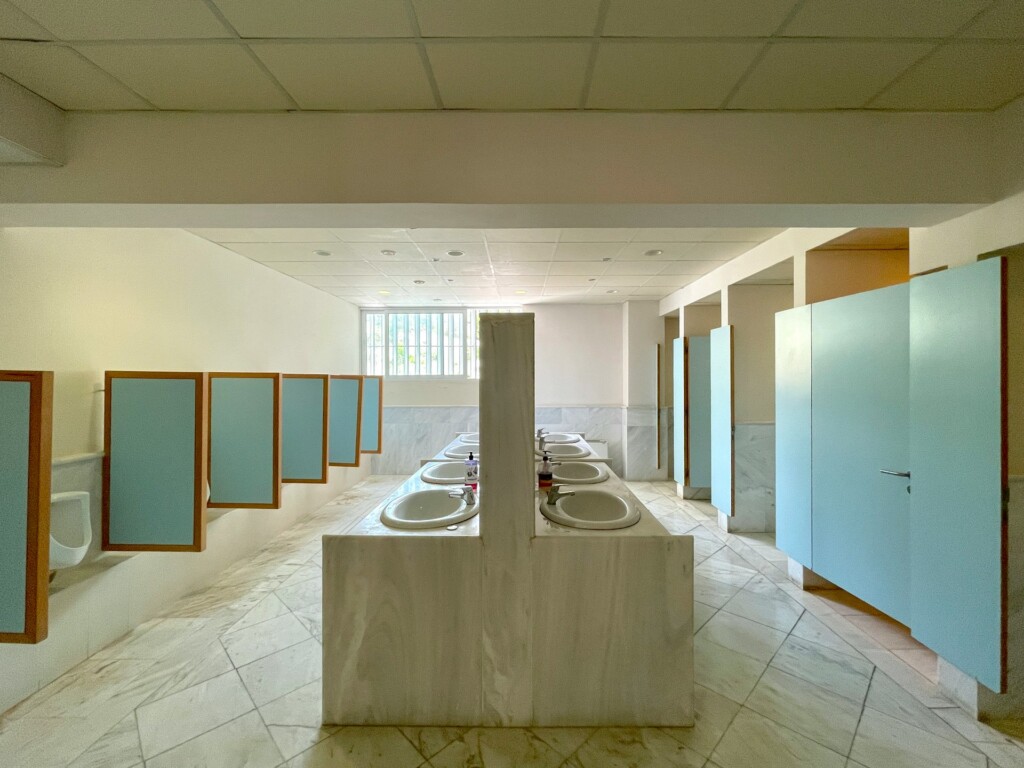
Build and Tile the Shower
Shower construction requires forming the pan with a proper liner and establishing the correct slope to the drain. We use smaller tiles or mosaic patterns on shower floors to follow the drainage slope naturally. This technique prevents water pooling and ensures effective drainage.
Once the shower pan is properly sloped, lined, and tested, we tile the waterproofed walls and complete all grout work. We seal the grout after it fully cures to protect against moisture penetration.
Set Fixtures and Cabinetry
Major fixture installation comes after the tile work is complete and cured. We install the vanity first, then connect the sink and test all plumbing connections for leaks. The toilet goes in next, followed by the tub or shower fixtures, mirrors, and lighting.
Each fixture connection gets tested immediately after installation. We verify water pressure, check for leaks at all joints, and complete electrical connections for lighting and outlets. This testing phase prevents problems from being hidden behind later work.
All electrical trim and final connections take place during this phase. We test GFCI outlets, verify proper grounding, and confirm that all switches operate correctly.
Apply Paint and Final Finishes
Moisture-resistant paint goes on after all major installations are complete. This timing minimizes touch-ups caused by fixture installation and ensures a clean, professional finish around every element.
Hardware installation happens last to avoid damage during other work. We add towel bars, cabinet hardware, hooks, and accessories once everything else is secured and functioning properly. This sequence protects the finish work and creates the final polished appearance.
How Do You Finish Strong With Inspections, Cleanup, and a Punch List?
The final phase of any bathroom renovation determines whether your project concludes with professional results or lingering frustrations. We coordinate all required final inspections with building authorities to secure sign-offs before we release our crew from the site. These approvals confirm that electrical, plumbing, and ventilation work meets local building codes and safety standards.
Final Inspections and Code Compliance
Building inspectors verify that all installed systems function correctly and meet municipal requirements. We schedule these inspections strategically, understanding that some jurisdictions require separate electrical finals while others allow combined mechanical and plumbing sign-offs. The timing varies by location, but most authorities mandate final approval before occupancy.
Gas line connections require dedicated inspection in many areas, particularly when we’ve relocated existing lines or added new connections for heated flooring systems. We coordinate with inspectors early to avoid scheduling conflicts that could delay project completion. Missing any required inspection creates liability issues and can complicate future permits or property sales.
Construction Cleanup Standards
Professional cleanup begins during construction and intensifies at project completion. Our standard includes broom-swept conditions, which means removing all construction debris, excess materials, and visible dust from surfaces. This baseline cleanup prepares the space for occupancy but may not address fine particulates that settle during drywall finishing and painting.
Post-construction cleaning services specialize in removing the microscopic dust that standard cleaning misses. These professionals use HEPA filtration systems and specialized techniques to eliminate particles from surfaces, fixtures, and ventilation systems. The investment typically ranges from $200 to $500 for a standard bathroom, but it ensures the space feels truly finished rather than merely functional.
Comprehensive Walkthrough and Quality Review
Our final walkthrough systematically tests every installed component to identify defects or incomplete work. We operate all cabinet drawers and doors, checking for proper alignment and smooth operation. Electrical outlets receive load testing, and we verify that all switches control their intended fixtures. Light fixtures undergo full operational testing, including dimmer functionality where installed.
Plumbing fixtures require pressure testing and leak detection. We run all faucets at full flow, test shut-off valves under sinks, and verify toilet stability and flush operation. Shower and tub systems undergo extended testing to identify any seepage or drainage issues that might not appear during brief inspections.
Tile installation demands close examination of grout lines, edge transitions, and corner details. We inspect for hairline cracks, uneven surfaces, or gaps that could allow moisture penetration. These details affect both aesthetics and long-term durability, making thorough review essential before final acceptance.
Ventilation System Verification
Bathroom ventilation directly impacts moisture control and prevents mold growth. We test exhaust fan operation using airflow measurement tools to ensure adequate cubic feet per minute (CFM) ratings for the space size. Most building codes require 50 CFM for standard bathrooms, with higher requirements for larger spaces or multiple fixtures.
Fan noise levels matter for long-term satisfaction. We verify that installed units operate within acceptable sound levels, typically 1.5 sones or less for quality installations. Excessive noise often indicates improper mounting, inadequate ductwork, or inferior equipment that should be addressed before project completion.
Proper ductwork installation requires inspection of exterior termination points and duct runs. We confirm that exhaust paths lead directly outside rather than into attic spaces or other interior areas. Inadequate ventilation routing creates moisture problems that emerge months after construction completion.
Punch List Management and Resolution
Every identified defect or incomplete item joins our formal punch list for systematic resolution. We categorize issues by trade responsibility and completion complexity, prioritizing items that affect functionality over purely cosmetic concerns. This approach ensures that critical systems operate correctly before addressing finishing details.
Prompt punch list resolution prevents minor issues from becoming major problems. Paint scuffs from fixture installation are easier to address immediately than after humidity and temperature cycles cause primer adhesion problems. Similarly, loose hardware is easier to tighten before thread wear occurs with repeated use.
We maintain detailed records of all punch list items, including photographic documentation and completion dates. This documentation supports warranty claims and provides reference material for future maintenance or modifications. Clear communication with all trades ensures that responsibility assignments are understood and accepted.
Maintenance Planning and Handover
Long-term bathroom performance depends on establishing proper maintenance routines. We provide specific guidance for grout care, recommending annual resealing for areas exposed to heavy moisture. Quality sealers typically last 12 to 18 months under normal use conditions, but high-traffic shower areas may require more frequent attention.
Exhaust fan maintenance includes regular cleaning to maintain optimal airflow. Accumulated lint and dust reduce efficiency and increase motor strain, leading to premature failure. We recommend quarterly cleaning for most residential installations, with more frequent service in high-dust environments.
Fixture care instructions cover appropriate cleaning products and techniques for different materials. Natural stone surfaces require pH-neutral cleaners, while some synthetic materials tolerate stronger products. We provide written maintenance guidelines that preserve finishes and extend component life spans.
Conclusion And Next Steps
Successful bathroom renovations hinge on front-loaded planning. We secure permits early, order long-lead materials upfront, and follow a disciplined construction sequence: demolition, rough-ins, inspections, wall closure with waterproofing, flooring and tile work, fixture installation, paint application, and final quality assurance. This methodical approach prevents cascading delays that can derail projects.
The primary delay risks are consistent across projects: permit approval bottlenecks, backordered specialty materials, measurement errors requiring reorders, and inspection scheduling conflicts. We build buffer time into every phase, maintain rapid decision-making processes, and establish clear communication protocols with our construction teams. These practices protect project momentum when unexpected issues surface.
Immediate next steps: finalize your project scope and construction timeline, place orders for custom vanities and specialty materials, coordinate inspection appointments to align with the build sequence, and prepare the work area for efficient mobilization. Ready to move forward with your bathroom renovation? Contact EB3 Construction to discuss your project timeline and material logistics.