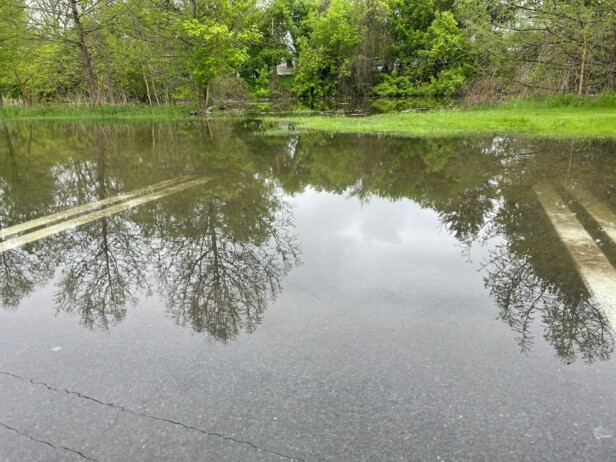
Stormwater compliance on a commercial construction site isn’t a single task; it’s a layered system that has to function from the first day of ground disturbance through final stabilization. Permit violations, stop-work orders, and regulatory fines almost always trace back to the same root causes: controls installed too late, maintained too infrequently, or sequenced in the wrong order.
Getting ahead of those failures starts with understanding how erosion prevention, runoff conveyance, and sediment capture work together as a coordinated system.
Stormwater Compliance for Commercial Construction Sites: SWPPP, BMPs, and Sediment Control
Building a Site-Specific Stormwater Pollution Prevention Plan
A Stormwater Pollution Prevention Plan (SWPPP) has to reflect the actual conditions of each project site. Generic templates often miss details that regulators look for during inspections. We start every SWPPP with a thorough site assessment that maps drainage patterns, slopes, soil types, sensitive areas, and the surface waters located within one mile of the project boundary.
From that assessment, we select both structural BMPs, such as sediment traps and inlet protection, and non-structural BMPs, including construction phasing and no-disturb zone delineation. The plan also includes an implementation schedule that ties BMP installation to specific construction activities rather than to calendar dates alone. That link between the work sequence and control measures is what makes a SWPPP functional on an active site.
The SWPPP document stays on site and functions as a living record. When site conditions change, whether due to grading progress, weather damage to controls, or scope revisions, the plan is updated to reflect current conditions. Regulators under the NPDES construction stormwater permit framework expect the document to match what they see during a field inspection.
Permit Timelines and Construction Phasing
Permit coverage must be in place before ground disturbance begins. Under most state NPDES programs, a Notice of Intent must be submitted at least 7 days before the construction start date for standard projects. Projects disturbing 50 or more acres near special or impaired waters typically require submission 30 days in advance, and projects requiring an individual permit may require lead times up to 180 days. We factor these submittal deadlines into the preconstruction schedule so permit gaps do not stall mobilization.
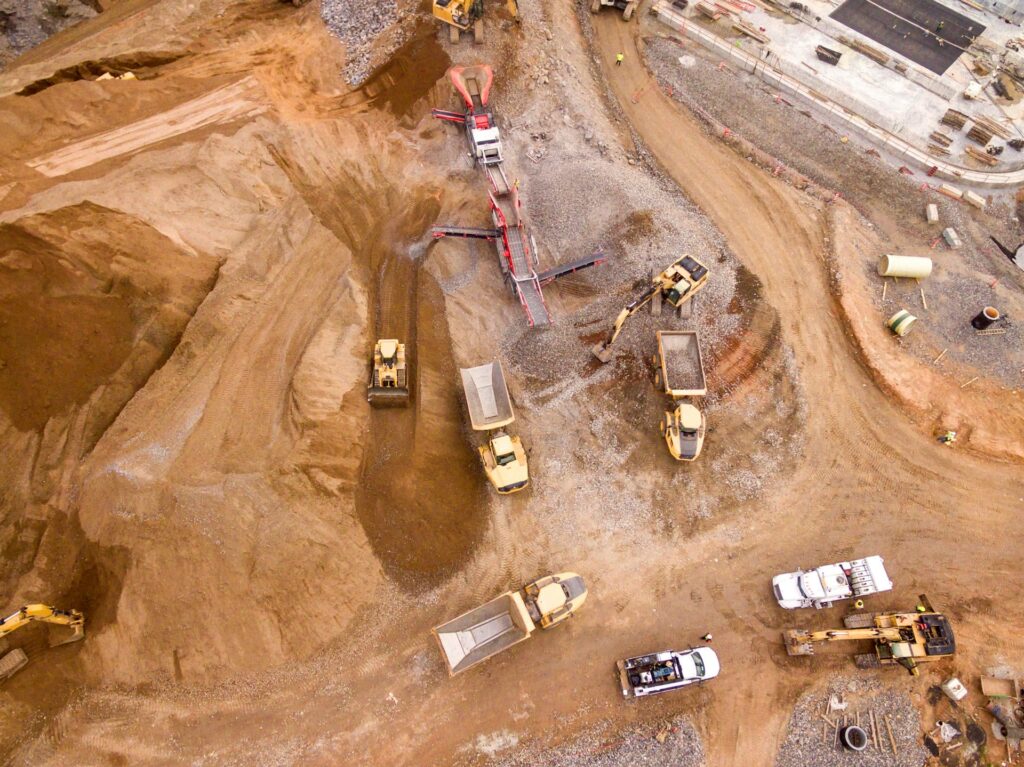
Construction phasing directly limits how much soil sits exposed at any given time. We phase grading and clearing to keep disturbed areas (DSAs) as small as possible, preserving existing vegetation in areas not yet under active work. Vegetated buffers remain in place around drainage courses until the work sequence demands their removal, and no-disturb zones are marked and communicated to all crews before equipment arrives on site.
Energy dissipation at pipe outlets follows a strict timeline. Per permit requirements, dissipation measures must be installed within 24 hours of a pipe outlet being connected to an active drainage system. Check dams, sediment traps, and riprap aprons work together to reduce flow velocity before water reaches receiving channels or waterways.
Stabilization Triggers and Documentation
Stabilization timelines are among the most cited compliance gaps on commercial construction sites. The general rule under NPDES permits requires stabilization to begin immediately when construction activity in any disturbed area stops and will not resume within 14 days. That window tightens to 7 days when the site discharges to special or impaired waters, and to 24 hours in areas subject to fish spawning restrictions. We track active and inactive areas across the site so stabilization triggers are not missed as work shifts between phases.
Documentation supports every stabilization action taken. Records must capture when an area became inactive, what stabilization method was applied, and when the application occurred. Those records are the defense against permit violations if a qualifying storm event causes a discharge before vegetation establishes.
Inspection and Maintenance Requirements
Inspections follow a fixed schedule: the entire site must be inspected at least once every seven calendar days. An additional inspection is required within 24 hours after any storm event that produces 0.5 inches or more of rainfall. Each inspection covers BMP condition, evidence of sediment discharge, and any areas where controls are failing or absent. Inspection records must capture the date, inspector name, weather conditions since the last inspection, discharge observations, and the status of each BMP.
When an inspection identifies a non-functioning BMP, repair begins immediately. Controls that are accessible must be repaired within 24 hours of the deficiency being noted. Deferred maintenance is one of the most common reasons sites receive notices of violation, and a paper trail showing prompt corrective action matters when regulators review records.
Crew Training and Communication
A well-written SWPPP delivers no protection if the crews installing and maintaining BMPs do not understand what is required. We train field personnel on correct BMP installation methods, inspection criteria, and spill response procedures before work begins. Subcontractors working on site must be familiar with the SWPPP requirements applicable to their scope, and each must certify their compliance with the plan.
Clear communication across the team prevents the situational lapses that lead to permit exceedances. When grading crews are moving faster than expected, the field supervisor needs to know whether perimeter controls are in place ahead of the work front. That coordination happens at the crew level, not just in the office. Keeping the SWPPP accessible on site, with the site map current and BMP locations marked, gives every crew member a shared reference point throughout the project.
Which Erosion Prevention BMPs Stabilize Exposed Soils Quickly?
Surface Roughening and Vegetation Preservation
The first decision on any active commercial site is to keep as much existing vegetation in place as possible. Every patch of undisturbed ground we preserve is bare soil we never have to stabilize. Where grading is unavoidable, we limit the disturbed footprint to what crews are actively working, then move immediately to stabilize whatever has been exposed.
Surface roughening follows immediately after clearing and grading. By running a crimping or punch-type roller across freshly disturbed soil, we break the surface into small furrows that slow runoff velocity, improve infiltration, and give seeds and applied materials something to grip. This step takes minutes and meaningfully extends the life of every BMP applied afterward.
Temporary Seeding and Hydroseeding with Mulch Cover
Temporary seeding works well on areas that will stay idle for 14 or more days. Quick-establishing annual species germinate quickly and build a root network that holds particles in place against raindrop impact and sheet flow. A poor stand, generally below 50 percent cover, will not meet erosion prevention goals, so seedbed preparation matters as much as seed selection.
Hydroseeding applies seed, fiber, and a stabilizing tackifier in a single pass, making it efficient on steep or hard-to-reach slopes. Because seeded areas provide no protection until plants emerge, we always pair seeding with a straw or hydraulic mulch layer. That cover bridges the gap between seeding and germination, keeping soil particles in place during that vulnerable window.
Straw mulch applied at two tons per acre can reduce soil loss by up to 98 percent on slopes of 2:1 or less.
How Do You Control Run-On And Safely Convey Runoff On Active Sites?
The core objective of runoff conveyance on an active commercial site is straightforward: keep clean, undisturbed water separated from exposed soil. Once upslope flow contacts a disturbed area, it picks up sediment, accelerates across bare ground, and overwhelms downstream controls. We design our conveyance systems to intercept that flow before it reaches vulnerable zones, moving it around or off the site through stable, non-erosive pathways.
Diversion Channels, Earth Dikes, and Drainage Swales
Diversion channels and earth dikes are the first tools we reach for when upslope runoff threatens a disturbed area. A diversion is a constructed channel, often paired with a compacted earthen ridge on the downslope side, that intercepts surface flow and redirects it to a stable outlet. We position these structures at the top of cut and fill slopes, along site perimeters, and at intervals on long graded runs to shorten flow length and reduce the erosive energy that builds as water travels downhill.
Channel design depends on drainage area, soil type, slope, and expected flow velocity. Parabolic and trapezoidal cross sections are common on commercial sites; wider, shallower channels work well on gentler grades, while steeper terrain may call for narrower, deeper profiles. The ridge must be compacted in lifts, overfilled by roughly 10 percent to account for settlement, and seeded or otherwise stabilized within 13 days of installation. An unstabilized ridge that develops a low spot becomes a failure point during the next storm event.
Drainage swales serve a similar purpose but are graded to convey flow rather than intercept it. Grass-lined swales typically handle flows below 5 feet per second; where velocities are expected in the 5 to 10 feet per second range, a riprap-lined swale is the appropriate choice. We line channels or add check dams as needed to keep velocity within safe limits for the lining material and soil conditions present.
Temporary Slope Drains for Concentrated Flows
When concentrated runoff must move down the face of a cut or fill slope, a temporary slope drain provides the controlled pathway needed to prevent gully erosion. These flexible pipe systems, sometimes called downdrains, carry flow from a diversion at the top of the slope to a protected outlet at the toe. The maximum drainage area per individual pipe is limited to approximately 5 acres, and pipe diameter must be sized accordingly, ranging from 12 inches for areas up to half an acre to 30 inches for the full 5-acre limit.
Proper installation is critical. The entrance section must be securely entrenched, all pipe connections must be watertight, and hold-down anchors are required at intervals no greater than 10 feet along the exposed section. We extend the pipe beyond the toe of the slope and always pair the outlet with energy dissipation protection. A slope drain that separates at a joint or pulls away from its diversion ridge will create severe gully erosion very quickly, and the repair cost is significantly higher than the cost of a properly anchored installation.
Check Dams in Small Open Channels
Check dams are small barriers placed across swales and drainage channels to flatten the effective channel gradient and reduce flow velocity. Lower velocity means less channel erosion and more opportunity for suspended sediment to drop out before water exits the site. We use them in channels serving drainage areas of 10 acres or less where lining the full channel is not practical or where temporary seeding has not yet been established.
Spacing follows a straightforward rule: the toe of the upstream dam should sit at or below the crest elevation of the dam immediately downstream, so a pool forms behind each structure. This pool-and-step geometry is what actually reduces velocity throughout the channel reach, not just at a single point. Rock check dams are keyed 12 to 24 inches into the channel bottom and banks to prevent water from routing around or under the structure. The center of the dam is built 6 inches lower than the ends on channels draining less than 5 acres, directing flow over the middle and away from the banks.
Maintenance timing matters. We remove accumulated sediment when it reaches one-third of the original dam height. If sediment fills to the top, water bypasses the structure along the banks and the erosion protection is lost entirely. Check dams are never placed in live, perennial streams without regulatory approval, and they function as a complement to other controls rather than a standalone sediment removal device.
Outlet Protection and Velocity Dissipation
Every pipe outlet, flume end, and diversion terminus is a point of high erosion risk. Stormwater that has been moving through a confined conveyance arrives at the outlet with concentrated energy. Without a transition structure, that energy scours the receiving channel or slope immediately. We address this with riprap-lined aprons configured at zero grade, with no overfall at the downstream end and no bends in the horizontal alignment.
Apron dimensions are determined by pipe diameter and tailwater conditions. Where tailwater depth is less than half the pipe diameter, a minimum tailwater condition governs the apron length and median stone size. Where tailwater is deeper, a maximum tailwater design applies and typically requires a longer apron. The apron extends across the full channel bottom and up the banks to at least 1 foot above the maximum tailwater depth. A geotextile layer between the riprap and the subgrade prevents soil migration through the stone, which is a common failure mechanism we watch for closely during inspections.
When standard riprap aprons cannot handle the flow energy, grouted riprap or excavated stilling basins are used. Rock size must be increased, or grout added, when stone displacement is observed after storm events. An apron that requires repeated repairs at the same location signals that a design condition has changed, and we reassess the contributing drainage area and pipe capacity accordingly.
LID Concepts, Vegetated Buffers, and Common Mistakes to Avoid
Low-impact development principles support runoff conveyance by reducing the volume and velocity of flow before it reaches structured controls. Vegetated buffers placed between disturbed areas and drainage channels slow sheet flow, promote infiltration, and filter fine sediment. On commercial sites, even a narrow strip of undisturbed or stabilized vegetation at the base of a graded slope or along a property boundary provides a measurable reduction in sediment load reaching downstream channels and inlets.
Two installation errors are responsible for a disproportionate share of conveyance system failures on active sites. The first is placing a silt fence across a drainage line or concentrated flow path. Silt fences are designed for sheet flow conditions only; concentrated flow overtops, undermines, or blows out the fabric and leaves the area completely unprotected. The second is failing to divert upslope runoff before it enters a disturbed area. Without upslope diversion in place, clean water from undisturbed ground picks up sediment and gains velocity as it crosses bare soil, overpowers perimeter controls, and causes the scouring that the entire system was designed to prevent. We sequence our BMP installation to address upslope diversion first, before grading operations advance downhill.
Conclusion And Next Steps
Stormwater compliance is only as strong as the documentation and inspection schedule behind it. Keep records current, flag deficiencies as they appear, and resolve them before the next qualifying storm event. Train crews at the start of each phase so everyone on site understands what the controls are, why they matter, and what triggers a repair. A project that enters closeout with clean records and documented final stabilization carries far less regulatory risk than one that catches up at the last minute.
At EB3 Construction, we coordinate stormwater compliance as part of managing every commercial construction site, from SWPPP development through final BMP removal. Contact us to discuss how we approach erosion and sediment control on your next project.