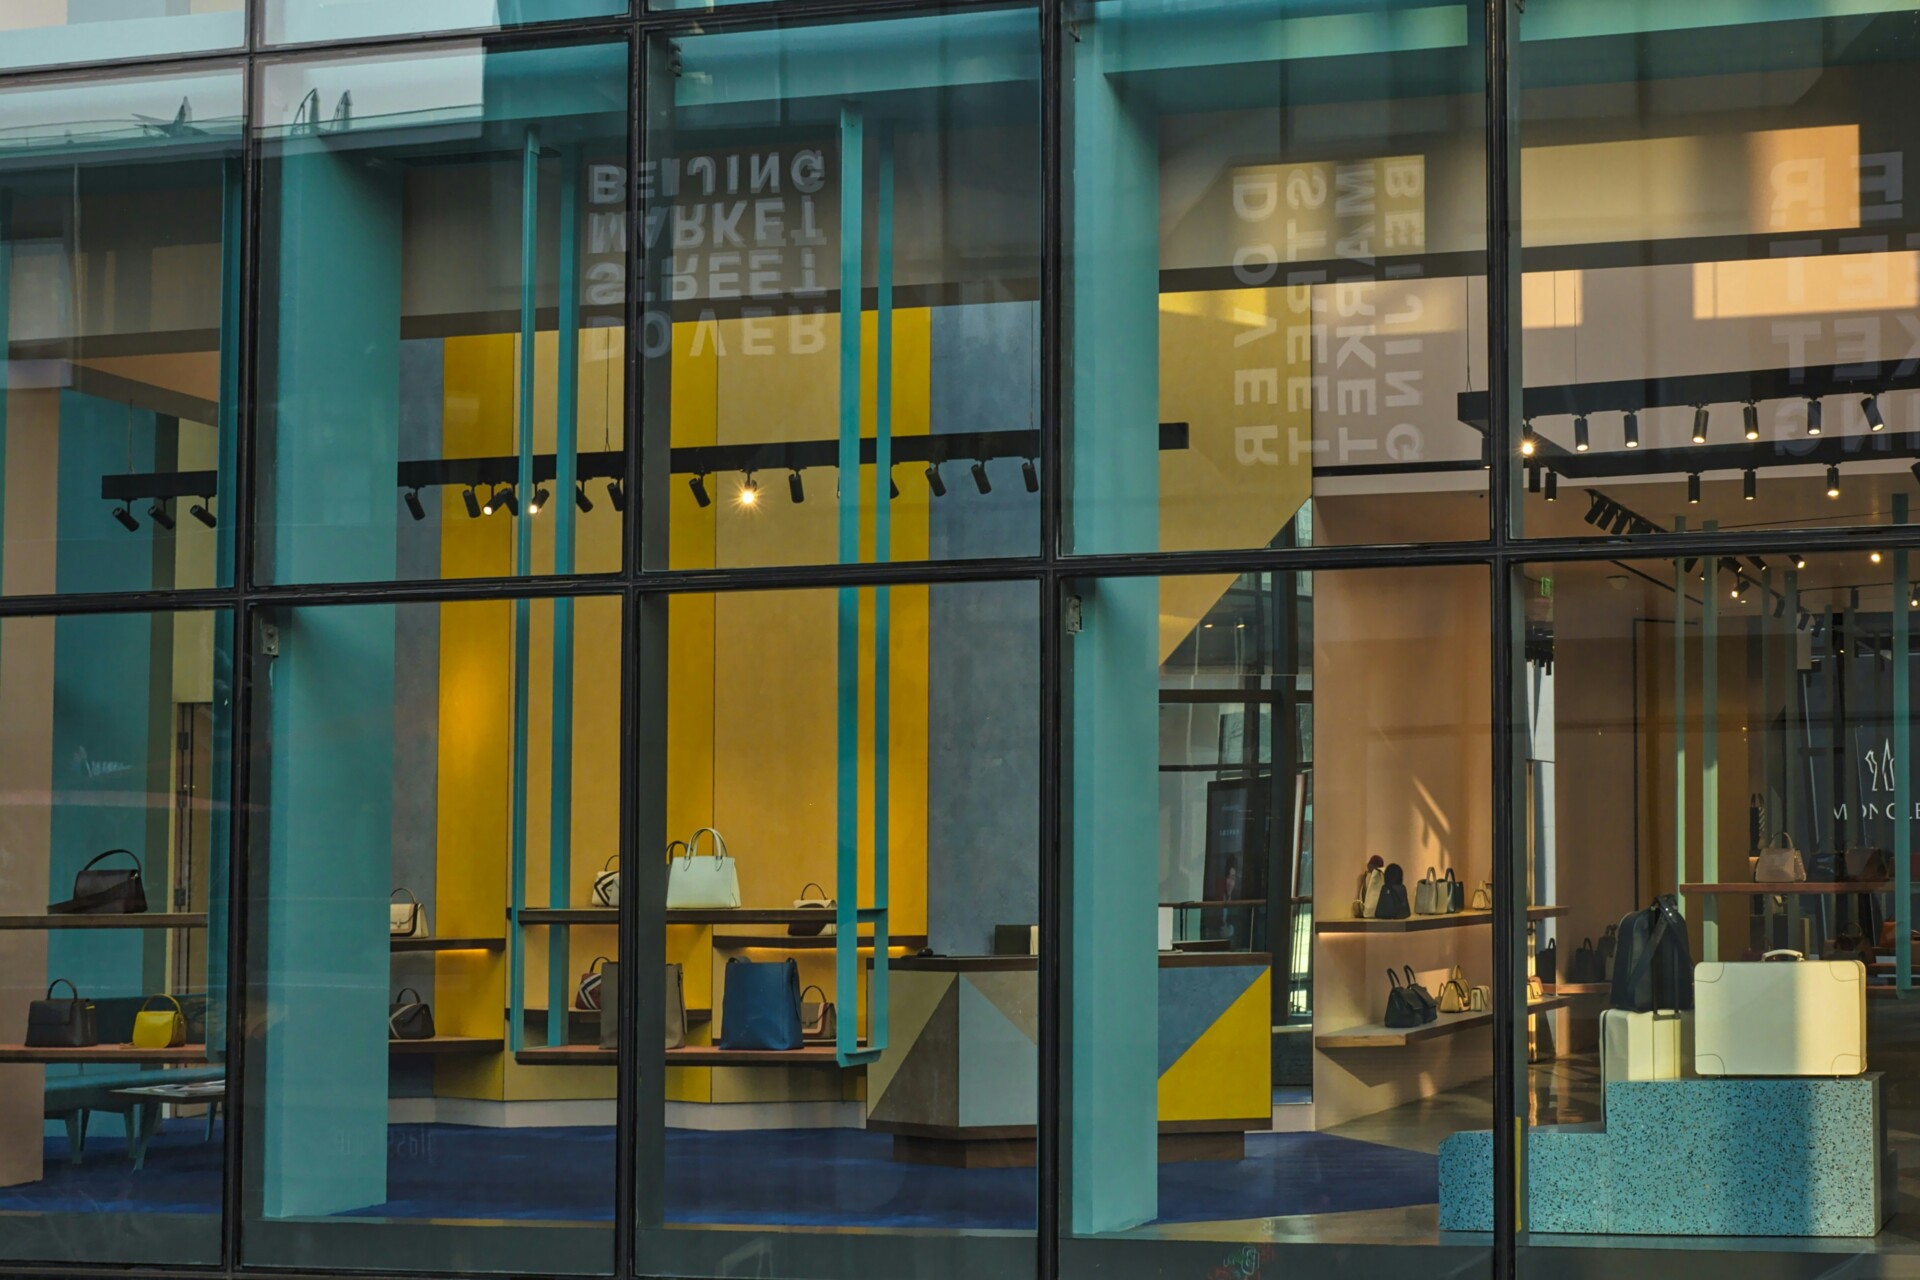
Developers and property owners turn to pavilions when they need versatile outdoor structures that serve multiple functions year-round. These open-sided, roofed buildings define spaces for retail events, dining experiences, and community gatherings while providing essential weather protection.
Outdoor retail pavilion construction requires careful coordination through the planning, permitting, structural framing, and roofing phases. We start each project by verifying local building codes, establishing precise site layouts, implementing solid post-and-beam or timber framing systems, and selecting roof designs that meet climate demands and operational requirements.
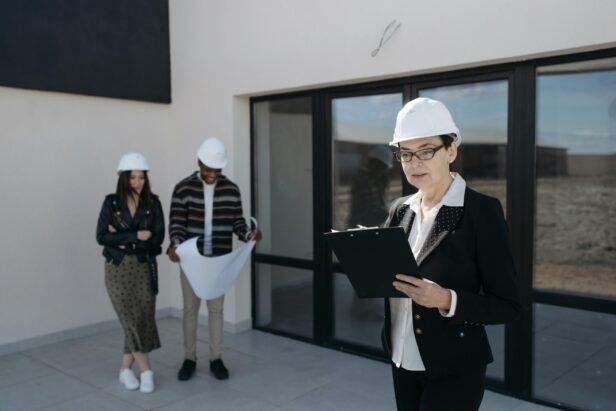
Which Permits, Zoning Rules, And Inspections Apply?

We verify permit requirements before breaking ground because jurisdictions set different size thresholds that trigger permit applications. Many jurisdictions exempt structures with roof areas below a set threshold—often 120 or 200 square feet—though height limits can still require a permit regardless of footprint. Seattle requires permits for sheds over 120 square feet, while many Washington State counties use a 200-square-foot threshold.
A permit application typically includes scaled construction drawings, a complete site plan showing property setbacks, and standard building permit forms. We prepare detailed structural plans for pavilions exceeding 12 feet in any dimension, and jurisdictions with high wind or snow loads may request engineered calculations for longer spans or complex connections.
Construction phases require scheduled inspections that we coordinate with local officials. We schedule a footing inspection before backfill and a final inspection upon completion. Electrical work typically requires a separate permit when adding lighting, fans, or power outlets. We follow approved plans throughout construction and notify inspectors of any necessary field changes.
Zoning compliance governs placement regardless of permit requirements. We maintain required setbacks from property lines—typically 5 to 10 feet, depending on the jurisdiction—and verify lot coverage limits that include all structures on the property. Utility easements restrict placement, and homeowners associations (HOAs) often require separate design approval before permit submission.
We start the permit process early and use local building department handouts to confirm specific requirements. Inspectors provide valuable guidance on frost depth, uplift tie specifications, and allowable roof pitches for the climate zone. We maintain detailed records of permits and inspections to support property insurance claims and facilitate future sales.
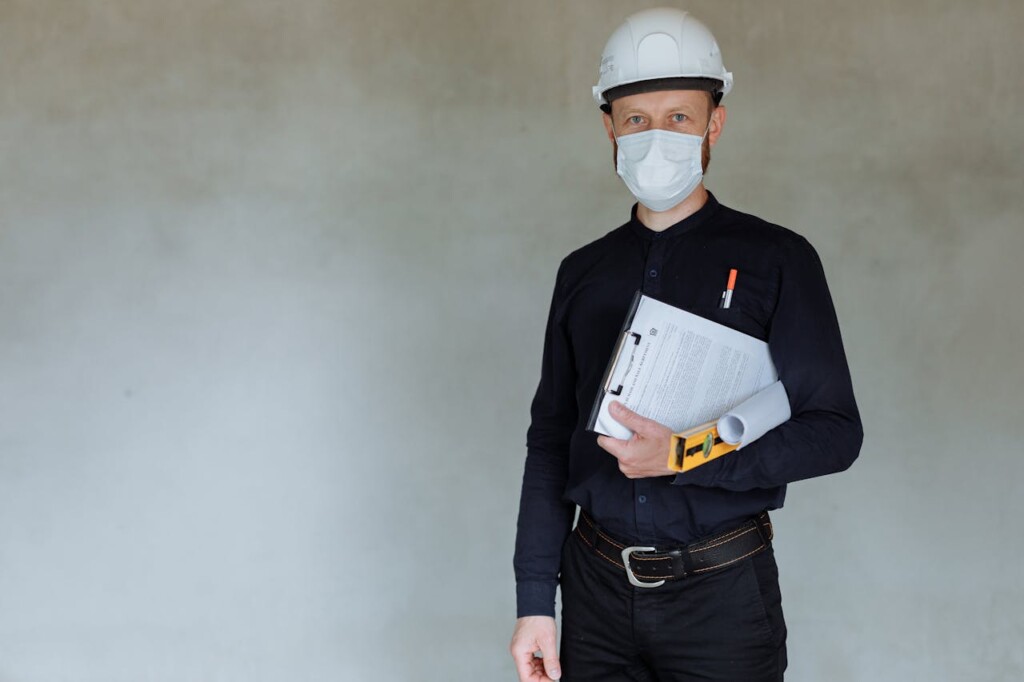
How Should Site Prep, Layout, And Foundations Be Executed?
Site preparation forms the backbone of every successful pavilion build we undertake. Proper execution at this stage prevents costly adjustments during framing and ensures the structure sits exactly where intended. Research shows that methodical site work, combined with accurate layout techniques, creates the stable foundation needed for long-term performance.
Clear, Level, and Square the Layout
We start every pavilion project by establishing precise control lines using batter boards and string lines. These temporary wooden frames, positioned beyond each corner of the planned structure, provide reference points that won’t be disturbed during excavation. String lines stretched between batter boards create the exact outline for footings and help maintain dimensional accuracy throughout construction.
The 3-4-5 rule is essential for verifying square corners in our layouts. We mark one string at 3 feet, measure 4 feet along the perpendicular string, then confirm the diagonal measures exactly 5 feet. This simple triangle check, or multiples like 6-8-10, ensures corners are perfectly square before we begin digging. Diagonal measurements between opposite corners provide additional verification that the entire layout maintains proper geometry.
We also establish consistent elevation references using a transit or laser level. This step ensures all footings are set at the correct depth and height, preventing uneven settling or drainage problems. Even small variations in footing elevation can create significant framing complications later in the build.
Footings and Piers Below the Frost Line
Local frost depth determines the minimum depth for all our pavilion footings. We dig below the frost line to prevent frost heave from shifting the foundation during freeze-thaw cycles. Form tubes create clean, consistent pier shapes and prevent soil from contaminating the concrete during placement.
Setting metal post anchors while the concrete remains workable requires careful alignment to the string lines. We position each anchor so posts align perfectly with the structural layout, checking elevation and plumb repeatedly before the concrete begins to cure. Consistent footing heights eliminate the need for shimming or post adjustments during frame assembly.
Concrete typically reaches sufficient strength for post installation within 24 to 48 hours, depending on weather conditions. We verify footing depth meets local code requirements before any backfilling begins, since inspectors often need to see the excavation depth before approval.
Post Installation and Bracing
Once the concrete has cured sufficiently, we attach posts to the embedded anchors and immediately establish temporary bracing. Plumb posts require careful measurement and adjustment because even minor variations multiply across longer spans. Diagonal braces between posts prevent movement during subsequent construction phases.
We maintain these braces until permanent connections between beams and posts provide adequate stability. This temporary support system prevents costly realignment work and ensures the frame remains square and plumb throughout construction.
Existing Slab Installations
When building on existing concrete slabs, we verify the surface meets minimum thickness requirements before proceeding. Standard installations require at least 4 inches of concrete, though we prefer 6 inches for pavilions that will support heavier loads or equipment. Slab assessment includes checking for significant cracks, low spots, or structural damage that could compromise anchor performance.
Anchor bolt installation in existing concrete requires careful placement to achieve proper holding strength. We use wedge anchors for most applications, drilling holes to the manufacturer’s specifications and ensuring adequate concrete thickness around each fastener. Any surface irregularities are addressed with patching compound or leveling techniques before anchor installation begins.
Epoxy-set anchors provide superior holding power in marginal concrete conditions, though they require longer cure times than mechanical anchors. We select anchor types based on load requirements and existing slab conditions rather than simply choosing the most economical option.
Site Placement and Drainage Considerations
Pavilion placement requires attention to drainage patterns that affect neighboring properties. We grade around footings to direct water away from the structure and avoid creating runoff problems for adjacent areas. Proper site drainage prevents soil erosion around foundations and reduces long-term maintenance requirements.
Utility easements and setback requirements influence final positioning decisions. We verify these constraints during the planning phase but double-check actual placement before concrete work begins. Moving a foundation after concrete placement creates significant expense and scheduling delays.
High-traffic retail applications need adequate circulation space around the pavilion perimeter. We maintain clear pathways for pedestrian movement and emergency access while ensuring the structure integrates well with existing site features and landscape elements.
What Framing Systems, Lumber, And Connections Perform Best?
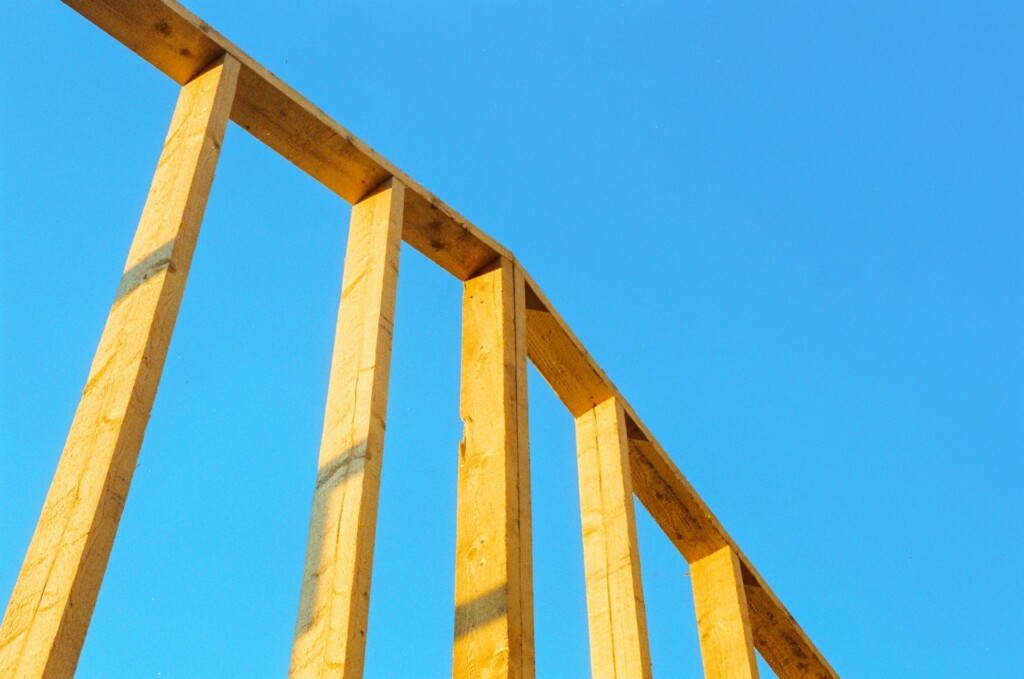
The structural framework determines a pavilion’s longevity and performance. When we build outdoor retail pavilions, the frame must handle wind loads, snow accumulation, and daily wear while maintaining clean aesthetics that appeal to customers and tenants.
Post-and-Beam Systems
Post-and-beam framing offers straightforward construction and proven durability for pavilion projects. The system relies on vertical posts carrying loads to horizontal beams, creating wide spans without interior supports. We install modern structural connectors at post-to-beam joints rather than relying solely on traditional notching.
Simpson Strong-Tie hurricane ties and beam hangers carry engineered load ratings that meet code requirements. Galvanized carriage bolts through posts and beams create rigid connections that resist compression and tension forces. Knee braces installed at 45-degree angles between posts and beams prevent lateral racking during wind events.
Traditional Mortise-and-Tenon Joinery
Mortise-and-tenon connections with hardwood pegs deliver exceptional longevity and a refined appearance. The precision-cut joints interlock without metal fasteners, allowing natural wood movement while maintaining structural integrity. Pre-cut timber frame kits simplify complex joinery for contractors unfamiliar with traditional techniques.
This approach works particularly well for high-end retail developments where exposed structure becomes an architectural detail. The clean lines and craftsman aesthetic can justify premium material costs through enhanced property values and tenant appeal.
Lumber Selection Strategies
Material choice affects both performance and project economics. Pressure-treated Southern Pine provides cost-effective durability for posts in ground contact or near concrete footings. We specify exterior-rated galvanized or stainless steel hardware to prevent corrosion reactions with treatment chemicals.
Cedar and redwood offer natural rot resistance and dimensional stability without chemical treatment. These species work well for exposed beams and rafters where appearance matters. Douglas-fir delivers superior strength characteristics for spans exceeding 16 feet or heavy snow load applications.
Engineered lumber like glulam beams and LVL headers handle challenging spans while maintaining consistent dimensions. A common hybrid approach uses pressure-treated posts where moisture exposure occurs, transitioning to cedar or fir beams at the plate level for both economy and performance.
Assembly Sequence for Structural Integrity
Proper sequencing prevents alignment issues and ensures code compliance. We set posts plumb using temporary bracing, then attach beams level across the structure. This creates the primary frame before adding diagonal knee braces for lateral stability.
Ridge beams or engineered trusses follow, establishing roof geometry and load paths. Individual rafters connect to the ridge with hurricane ties rated for local wind speeds. Roof decking or purlins complete the structural shell before installing weather protection.
Critical hold-down connectors and uplift ties require verification at each connection point. These elements resist wind suction that can lift lightweight pavilion structures. We document all connections during construction to streamline inspections and warranty coverage.
How Do Roof Shape, Slope, And Materials Affect Performance?
We design pavilion roofing systems to balance aesthetics, structural requirements, and weather resistance. The roof is often the most visible element of an outdoor retail pavilion, so the balance of form and function is critical to project success.
Roof Shape Selection
Gable roofs offer a straightforward construction approach for pavilion projects. We find them particularly effective for creating open, airy spaces that encourage natural airflow while maintaining simple framing connections. The clean lines work well with both traditional and contemporary architectural styles.
Hip roofs provide strong wind resistance thanks to their four-sided slope. We recommend hip configurations when pavilions face prevailing winds or exposure to severe weather. The shade on all sides makes them ideal for dining areas or retail spaces requiring consistent weather protection throughout the day.
Flat or shed roofs suit modern pavilion designs but require careful attention to drainage detailing. We typically avoid these configurations in areas with heavy snow loads, as accumulation can stress the structure beyond design limits.
Slope Considerations
In rainy climates, we specify minimum roof pitches based on material requirements and drainage effectiveness. Asphalt shingles perform adequately at 2:12 slopes with proper underlayment, but we achieve better long-term performance at 4:12 or steeper. The increased pitch helps prevent water infiltration during wind-driven rain, which is common in pavilion applications.
Snowy regions demand steeper slopes ranging from 4:12 to 6:12 for effective snow load management. We calculate these angles based on local snow loads and structural capacity. Steeper slopes reduce accumulated weight while preventing ice dam formation that can damage both roofing and framing.
High-wind areas require moderate slopes paired with comprehensive tie-down systems. We avoid extremely steep pitches that create excessive wind uplift while ensuring drainage remains functional during storms.
Material Performance
Asphalt shingles remain cost-effective for pavilion construction when properly sloped and detailed. We select architectural-grade shingles with wind ratings appropriate for the exposure. Their moderate weight works well with standard post-and-beam framing without requiring structural upgrades.
Metal roofing excels in pavilion applications due to its lightweight profile and strong weather resistance. We specify standing seam systems for permanent installations and consider corrugated options for temporary or budget-conscious projects. Snow guards become essential in northern climates to prevent dangerous snow slides. Rain noise also requires consideration in dining or entertainment venues.
Polycarbonate panels provide natural lighting advantages while maintaining weather protection. We follow manufacturer expansion guidelines closely, as temperature fluctuations can cause panel failure if not properly accommodated. Tinted options reduce heat gain in south-facing exposures.
Wood shakes offer natural aesthetics that complement outdoor retail environments but require an ongoing maintenance commitment. We typically specify cedar or treated wood with proper ventilation to prevent moisture buildup and premature failure.
Tile roofing provides exceptional durability but requires structural analysis due to its weight. We often need to upgrade framing members and connections when transitioning from lighter materials to tile systems.
Maintenance Requirements
We establish maintenance protocols during the construction phase to ensure long-term performance. Regular debris removal prevents drainage blockages that can cause water damage or structural stress. Metal roofing requires periodic fastener inspections and coating maintenance to prevent corrosion.
Polycarbonate panels need gentle washing to maintain clarity and prevent UV degradation. We recommend specific cleaning products that won’t damage the surface or compromise weather sealing.
Wood shake systems require the most intensive maintenance, including periodic treatment applications and individual shake replacement as weathering occurs.
Conclusion And Next Steps
A successful pavilion construction workflow starts with permits and zoning compliance, ensuring your project meets local requirements from the outset. We lay out a precise square with string lines and the 3-4-5 rule, then build frost-protected footings below the local frost line or verify the adequacy of an existing slab for proper thickness and anchoring capacity. The framing phase includes raising a braced post-and-beam or mortise-and-tenon frame using rated structural connectors that resist uplift and racking forces.
The roof system ties the structure together with a slope suited to your climate and finishes matched to local weather and your maintenance preferences. We schedule required inspections at the footing and final stages, maintaining documentation throughout construction for future reference. A seasonal maintenance checklist helps ensure long-term performance: checking bolt tightness, inspecting finishes for wear, clearing roof debris, and addressing any settlement or weather damage before it becomes costly.
Ready to start your pavilion project with professional construction expertise? Contact EB3 Construction to discuss your outdoor retail pavilion needs.