
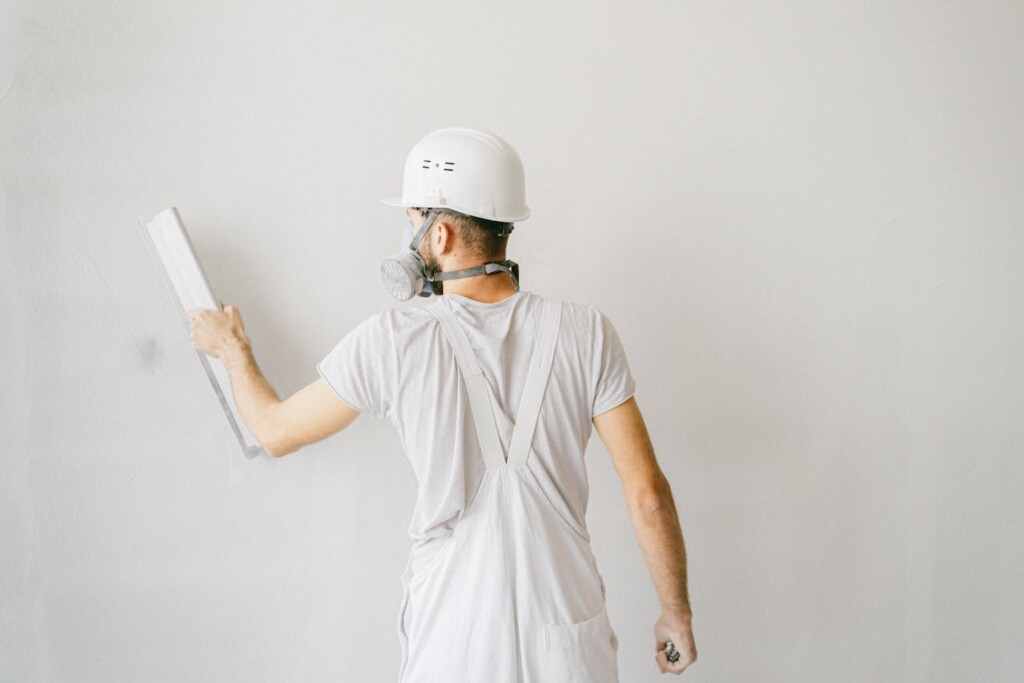
Retail construction schedules are measured in weeks, not months, and brands need spaces that speed their path to opening day. A retail white-box construction contractor prepares a commercial space to a defined shell condition, delivering essential infrastructure while removing previous tenant elements that would slow the build-out process.
We create a code-compliant canvas with core systems already in place. This includes base building systems like HVAC distribution, electrical infrastructure, basic lighting, ADA-compliant restrooms, fire protection, and structural elements such as demising walls and storefront access. The space becomes a blank foundation, allowing retailers to focus on brand-specific finishes, merchandising layouts, and customer experience elements instead of fundamental construction.
What Does A Retail White Box Include (And Exclude)?
Understanding the scope of a retail white box prevents costly surprises during construction. These spaces come with defined inclusions and exclusions that shape budget planning and tenant improvement strategies. We coordinate these elements daily to ensure retailers receive exactly what they need for efficient build-outs.
What’s Included in a Retail White Box
The exterior shell forms the foundation, with complete structural walls, a finished roof system, and rear wall construction. Interior basics include sheetrock separation walls between tenant spaces, storefront doors for customer entry, windows for natural light, and concrete flooring ready for final finishes.
Restrooms represent a significant inclusion. We install one or two ADA-compliant restrooms with all required fixtures, plus drinking fountains where local codes mandate them. These facilities meet accessibility standards without requiring tenant upgrades.
Electrical systems cover standard wiring throughout the space, basic lighting for safe navigation, and emergency lighting as required by fire codes. We provide limited outlets for essential functions, a dedicated sign circuit for exterior signage, and conduits for future phone and data installation.
HVAC installation includes air-handling units, main trunk lines, distribution ductwork, and grilles with diffusers. This system provides climate control capacity for typical retail operations. Plumbing covers fixtures and connections for required restrooms and a janitor’s sink when mandated by local codes.
Life safety and accessibility features include fire protection systems with sprinkler heads positioned per code requirements. We ensure accessibility through elevators or stairs where regulations require them. Building permits, inspections, and required licenses are often secured before leasing begins.
What’s Not Included
Interior wall finishes beyond basic restroom completion remain the tenant’s responsibility. This includes painting, wallcovering, and decorative treatments throughout retail areas. Additional plumbing fixtures beyond code minimums and upgraded electrical fixtures fall outside the white box scope.
Technology infrastructure requires separate coordination. Telephone, cable, and data wiring, plus security systems, are tenant improvements. HVAC layout modifications to accommodate specific retail needs, and all tenant equipment or furniture, are also excluded.
Tenant-specific improvements and branding elements remain the retailer’s responsibility. Custom lighting for product display, specialized flooring materials, fixture installation, and brand-specific architectural features require additional construction phases beyond white box delivery.
How Does The Process Work From Permit To Turnover?
The retail white-box process follows a structured workflow that takes a space from existing conditions to a code-compliant shell ready for tenant improvements. We manage each phase to maintain the schedule while delivering the core systems retailers need.
Permitting and Design Phase
We start by defining the white-box scope based on the space’s existing condition and retail requirements. This includes identifying which systems need modification or installation to meet current building codes. Our team completes design plans that address structural, mechanical, electrical, and plumbing requirements while ensuring ADA compliance throughout the space.
Securing permits comes next, with both demolition permits and full building permits typically required. Demolition permits cover the removal of prior tenant improvements, while full building permits address the installation of new systems like HVAC distribution, electrical circuits, and fire protection. The permitting timeline can extend several weeks, so we begin this process early to prevent project delays.
Selective Demolition
We remove prior tenant elements systematically to create a clean shell without damaging core building systems. This includes stripping out custom fixtures, non-structural walls, specialized flooring, and tenant-specific electrical or plumbing modifications. The goal is reaching a neutral condition that provides maximum flexibility for the incoming retailer.
During demolition, we protect existing sprinkler systems, main electrical feeds, and structural elements. Any hazardous materials discovered during this phase require proper abatement before proceeding with construction.
Core Build-Out Installation
With the space cleared, we install the essential systems that define a white-box condition. This includes basic lighting sufficient for code compliance, drop ceilings with standard tiles, and drywall partitions that create the retail shell. We install or modify HVAC distribution to provide adequate air circulation throughout the space.
Electrical work focuses on providing standard outlets, emergency lighting, and circuits for building signage. Plumbing installation covers code-required restrooms with ADA-compliant fixtures and any necessary janitor sinks. Fire protection systems receive updates to ensure proper coverage after layout changes.
Lease and TIA Coordination
We coordinate closely with lease negotiations to align our delivery with tenant improvement allowance terms. Most TIAs exclude furniture, fixtures, and equipment, along with paint, wall coverings, and business-specific upgrades. Our scope typically ends where tenant-specific customization begins, creating a clear handoff point.
TIA calculations often factor our white-box delivery as the baseline condition, with tenant improvements building from that foundation. We provide detailed cost breakdowns to support these negotiations and ensure all parties understand the scope boundaries.
Contractor Responsibilities Through Turnover
We maintain detailed project schedules (see takt time planning) that account for permit processing time, material delivery, and inspection requirements. Our team provides itemized estimates for any scope changes and communicates impacts on both budget and timeline as conditions change.
Quality control includes regular inspections during construction and coordination with building inspectors for required approvals. We handle final inspections for electrical, plumbing, fire protection, and building code compliance before turning the space over to the tenant’s improvement contractor (overview).
Retail-Specific Considerations
Retail spaces require particular attention to customer flow and merchandising needs. We optimize floor layout to maximize sellable area while maintaining clear circulation paths from entrance to checkout. This means positioning structural elements and utility connections to avoid conflicts with typical retail layouts.
Lighting design focuses on providing adequate base illumination while accommodating future accent lighting for product displays. We install electrical infrastructure that supports both general lighting and specialized retail systems like security cameras and point-of-sale equipment.
Accessibility extends beyond basic ADA compliance to ensure comfortable customer navigation. We verify that door widths, floor transitions, and restroom access meet retail standards where customers with mobility devices, shopping carts, or strollers need clear paths throughout the space.
When franchise or brand standards apply, we coordinate our shell delivery with those requirements. Some retail chains specify particular ceiling heights, electrical configurations, or HVAC layouts that we incorporate into the white-box scope to streamline their tenant improvement process.
What Are Typical Costs And Budget Drivers For Retail White-Box Work?

Understanding retail white-box construction costs helps property owners and tenants plan realistic budgets before committing to lease agreements. We break down these costs into specific system components and professional services, giving you clear benchmarks for project planning.
Cost ranges vary significantly based on market conditions and project complexity. The figures below reflect typical industry ranges across most retail projects; actual costs depend on local labor rates, material availability, and specific project requirements.
Core System Cost Breakdown
HVAC systems are one of the largest investments in white-box construction. We typically see costs of $5 to $10 per square foot for complete units with supply and return ductwork and controls. When replacing existing retail HVAC equipment, budget $5,000 to $8,000 per unit depending on capacity and efficiency requirements.
Drywall installation ranges from $5 to $10 per square foot, covering materials and labor for interior partitions and perimeter wall finishing. Drop ceiling systems with standard tiles cost $3 to $5 per square foot, providing the foundation for lighting and HVAC integration.
Electrical work, including basic lighting, switches, and outlets, averages $3 to $5 per square foot. This covers standard retail lighting levels and adequate power distribution but excludes specialized display lighting or high-density electrical loads. Flooring installation typically costs around $4 per square foot for commercial-grade materials suitable for retail traffic.
Professional Services and Compliance Costs
Restroom construction costs $5,000 to $10,000 per facility, depending on size and ADA compliance requirements. These spaces require specialized plumbing, ventilation, and accessibility features that drive higher per-square-foot costs than general retail areas.
Professional services represent essential but often overlooked budget items. Architecture services typically cost about $3 per square foot, while MEP engineering runs approximately $1.50 per square foot. Project management fees usually represent 4% to 5% of total construction costs, covering coordination, scheduling, and quality control throughout the build-out.
Compliance and permitting expenses include ADA accessibility inspections at around $1,500 for projects exceeding $50,000. Permit fees vary by jurisdiction, but commonly include demolition permits at $250 and full building permits ranging from $1,000 to $1,500 or more. Licensing and registration requirements may add another $1,500 depending on local regulations.
Primary Budget Drivers
Existing building conditions create the most significant cost variations in white-box projects. Older structures often require extensive upgrades to meet current codes, while newer buildings may need only minor modifications. We evaluate each space thoroughly to identify hidden conditions that could impact budgets.
Code-driven upgrades are unavoidable expenses that can substantially increase project costs. Life safety improvements, accessibility modifications, and MEP capacity upgrades often exceed initial estimates when existing systems prove inadequate for retail use.
Retail layout complexity directly affects construction costs through increased framing, electrical, and lighting requirements. High lighting density for merchandise display and dedicated sign circuits for exterior signage create additional electrical loads that may require service upgrades.
Schedule constraints and phasing requirements can inflate labor costs significantly. Accelerated timelines often require overtime work and expedited material deliveries, while phased construction creates inefficiencies that increase overall project duration and coordination complexity.
How Does A White Box Compare To Gray Shells For Retail?
Understanding the differences between white box and gray shell conditions helps retailers make informed decisions about space selection and budget allocation. Each option reflects a different level of completion and investment, directly affecting the timeline and costs for tenant build-out.
White Box vs. Gray Shell Options
A white box provides core systems, including HVAC, plumbing, electrical, lighting, ceilings, restrooms, and fire protection. This vanilla shell offers the fastest path to retail tenant improvements and store opening. Typical finishing costs for white box spaces range from $5 to $20 per square foot, making them cost-effective for many retail concepts.
Warm gray shell spaces include HVAC, electrical, and plumbing systems but lack permanent lighting. These spaces provide only minimal lighting and fire alarm protection. The partial infrastructure requires additional work before retail operations can begin.
Cold gray shell (or cold dark shell) conditions often have unfinished floors and perimeter walls with no permanent HVAC, plumbing, or electrical systems, and no finished ceilings. Sprinkler systems and room separators may be absent entirely. Finishing costs for gray shells can range from $30 to more than $100 per square foot due to the extensive work required before retail tenant build-out begins.
Retail Decision Factors
White box spaces offer notable advantages for retail operations, including shorter construction schedules, easier space planning and visualization, reduced material waste, and flexible customization options. Retailers can focus immediately on brand-specific improvements rather than basic infrastructure installation.
However, white box spaces still require consideration of several factors. They are not fully move-in ready and require thorough code-compliance verification. Tenants remain responsible for the tenant improvement scope and trade coordination throughout the build-out process.
Gray shells may suit highly specialized retail concepts that require custom infrastructure layouts or unique mechanical systems. These spaces add considerable time and cost before merchandising displays and branding elements can be installed. The extended timeline delays revenue generation and increases carrying costs during construction.
Conclusion And Next Steps For Retailers
A retail white box provides the foundation retailers need to launch operations quickly. The code-compliant shell includes core MEP systems, basic lighting, ADA-compliant restrooms, and fire protection, creating a clean canvas for tenant improvements. This approach allows brands to focus on what matters most: optimizing the layout for customer flow, designing lighting that showcases merchandise, and implementing brand standards that create memorable shopping experiences.
Success with retail white box construction depends on clear steps from the start. Define exactly what your white box includes and excludes to avoid scope gaps that delay opening. Confirm that all permits and inspections are completed or coordinated before lease signing to prevent construction delays. Set a realistic budget using the cost ranges outlined earlier, typically $5 to $20 per square foot for tenant improvements beyond the white box shell. Lock in lease terms and tenant improvement allowances early in the process (see EB3’s overview), as these negotiations become more complex once construction begins.
Ready to move forward with your retail white box project? Contact EB3 Construction to discuss your specific requirements and timeline.